Average response time: under 24 hours
For a wedge anchor, drill a hole the same diameter as the anchor, so an M10 wedge anchor uses a 10 mm bit, and drill to the manufacturer-specified embedment depth plus an extra 10 mm to leave room for dust. For sleeve anchors, the hole diameter is also the anchor diameter, but embedment is shorter. For chemical anchors, drill 1.5 times the anchor diameter as the minimum hole depth, and vacuum out the hole three times before injecting resin. When in doubt, follow the anchor manufacturer data sheet; a hole that is too shallow loses half its rated load.
An anchor works by mechanically expanding against the concrete, or by chemical bond. If the hole is too big, the anchor has nothing to grip. If it is too shallow, the failure mode is pullout, not steel yielding. Both errors look fine on the day you install the anchor and fail months later under load. Getting the hole dimensions right is the cheapest insurance on the job.
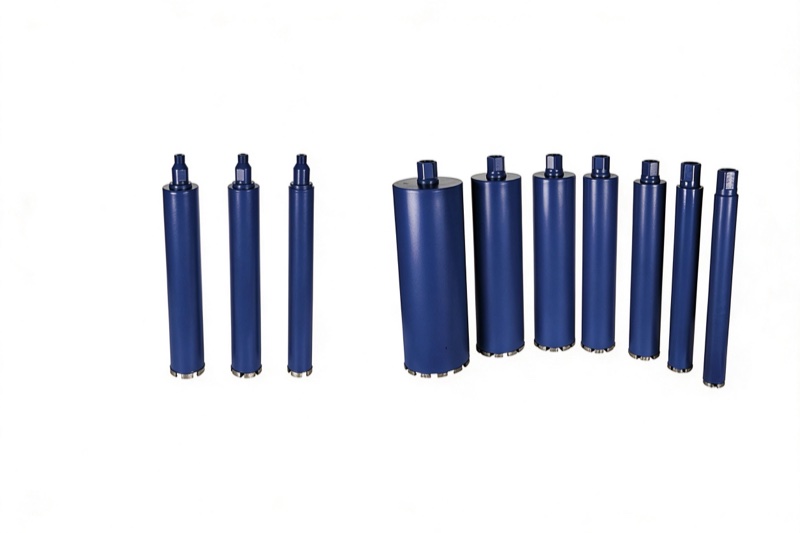
Use a carbide-tipped masonry bit sized to the anchor, not to the bolt. For wedge and sleeve anchors, the bit diameter equals the anchor nominal diameter. For undercut anchors, you need a special undercut bit. For chemical anchors, the hole is slightly larger than the bolt, typically 1-2 mm over, to leave room for the resin. The diamond and carbide bit range includes the standard sizes M8, M10, M12, M16, and M20 used for most structural anchors.
Add 10 mm to the embedment depth to account for dust and debris at the bottom of the hole. Drill a little deeper, not shallower. The wedge can always seat against the bottom; it cannot compensate for a hole that is too short.
Wedge anchors are the fastest to install and the most common for equipment, shelving, and unthreaded bolts. Sleeve anchors are shallower and suit thinner slabs or baseplates. Chemical anchors, also called epoxy anchors, give the highest pull-out strength for heavy loads and should always be drilled 1-2 mm over bolt diameter. Match the anchor type to the load, not to the hole you happen to have already drilled.
Mark the center with a center punch to stop the bit skating. Use a hammer drill in hammer mode at the correct speed. Pull the bit out every 10 mm to evacuate dust. Wrap a piece of tape around the bit at the desired depth so you know when to stop. Once at depth, blow the hole out with a squeeze bulb or shop vacuum, brush it out with a wire brush, and blow again. For chemical anchors, repeat the blow-brush-blow cycle three times.
Clean holes are not optional. A hole full of dust reduces wedge anchor pullout by up to 40 percent and breaks the chemical bond completely. Spend the extra two minutes; the anchor depends on it.
Even a correctly sized hole will fail if it is too close to a free edge. Keep anchors at least 5 x anchor diameter from a free edge, so an M10 anchor needs 50 mm from the edge. Space anchors at least 10 x diameter apart. Drilling near an edge can spall the concrete and leave a crater. The segmented core bit is used when the required anchor cluster is too close to an existing opening.
For anchor holes larger than 25 mm, or through reinforced concrete with rebar in the way, a diamond core bit on a small rig cuts a cleaner hole than a hammer drill. A wet diamond core bit also lets you stop exactly at the required depth without wandering. For typical M8 to M16 anchor holes, the hammer drill is faster and cheaper.
If the drill suddenly slows and sounds high-pitched, you have hit rebar. Pull the bit out, move the hole 10-20 mm to one side, and restart. Do not try to drill through the rebar with a carbide bit; it will burn the tip and snap. If rebar is directly in the path of a structural anchor, relocate the anchor or use a diamond core bit to cut the steel cleanly.
Before setting the anchor, drop the bolt in and check that it reaches the bottom with the correct protrusion. Measure the depth with a tape or a depth gauge. Blow out one more time. If the hole is in an exterior wall, seal around the anchor with exterior caulk to prevent water tracking back. For permanent or structural anchors, record the hole diameter, depth, and dust-cleaning steps on your inspection log so future reviewers can verify the install.
Written and reviewed by JOY TECH — an SGS & BV audited, CE/RoHS certified diamond tools manufacturer founded in 2004, exporting to 50+ countries.
Our factory and QMS are audited by SGS and Bureau Veritas. Products meet CE/RoHS requirements and every piece is 100% inspected before packing.
Verified Certificates
