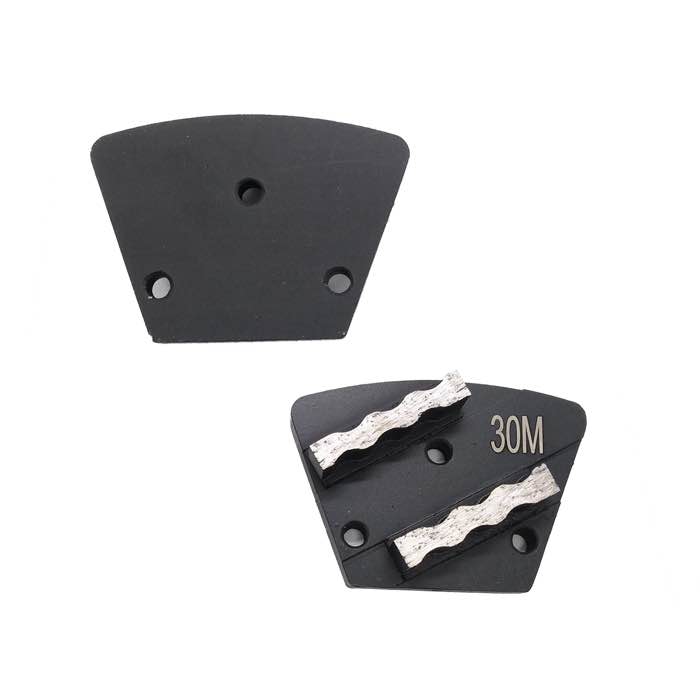
The blade that rounds out saw-cut control joints before filling is a crack-chaser (or V-groove) diamond blade—a tapered, thick-kerf blade designed to grind a smooth, round-bottom channel along the joint instead of a square saw cut. Crack chaser blades are run on an angle grinder or dedicated crack router and create the profile that epoxy or polyurethane joint filler needs to grip. Use a segmented or turbo crack-chaser blade for concrete, keep the blade moving, and never force the cut. The goal is a clean, rounded groove about 5–10 mm wide and deep, free of dust and laitance, so filler bonds on all sides. For the grinding and polishing steps that follow, tools like Double Zigzag Segment Trapezoid Disc (JOY-TP-ZG2) and Single Rhombus Segment Trapezoid Disc (JOY-TP-RH1) prepare the surrounding floor.
Saw-cut control joints are square-bottomed and sharp-edged. Flexible joint filler needs a rounded reservoir so it can stretch and compress without being sheared at the corners. A crack chaser:
| Step | Action |
|---|---|
| 1. Clean | Blow out the joint with compressed air |
| 2. Route | Run crack-chaser blade along the joint at steady pace |
| 3. Inspect | Groove should be uniform, 5–10 mm wide, rounded |
| 4. Vacuum | Remove all dust before backer rod and filler |
A crack-chaser blade is thicker than a standard saw blade and has a tapered rim. Turbo segments cut faster and leave a smoother bottom; segmented blades last longer on hard concrete. Match the blade arbor to your angle grinder (usually 7/8″ or 22.2 mm). Do not use a thin general-purpose diamond blade—it will overheat in the narrow channel and glaze quickly.
After routing, the surrounding slab may need light grinding to remove laitance near the joint. A rhombus-segment trapezoid disc cleans up the edges without touching the routed channel.
The most common error is routing too deep, which weakens the slab and creates a filler reservoir that is too large. The second is skipping the final vacuum—dust in the groove breaks the filler bond and causes early joint failure.
A routed joint is only half the repair. After routing and vacuuming, push closed-cell backer rod into the channel so filler sits on top of it rather than pooling on the bottom. This gives the filler a back surface to compress against and reduces material use. Fill to about 3 mm below the finished slab surface, never flush or proud—over-filled joints tear when traffic rolls over them. Let the filler cure fully before grinding or polishing the surrounding floor; fresh filler marks easily and can be ground flat by accident.
On long joints, stop every few meters and vacuum the groove. Swarf packed into the channel slows the blade and hides how deep you are cutting. A quick blow-out also shows whether you have followed the joint line accurately or drifted off the saw cut.
A: A regular blade makes a square kerf, not a rounded reservoir. Flexible filler needs the rounded profile a crack chaser provides.
A: Typically 5–10 mm, matching the filler manufacturer’s spec. Wider joints need backer rod to control filler depth.
A: Yes, on polished concrete. Routing before polishing prevents the grinder from catching the sharp joint edge and causing spalling.
A: Expect tens of linear meters per blade on concrete. Hard aggregate shortens life; cutting rebar stops it immediately.
Rounding out control joints before filling is done with a dedicated crack-chaser blade on an angle grinder, producing a smooth, rounded reservoir that flexible filler can bond to and move with. Keep passes steady, route to spec width, and vacuum thoroughly—cleanliness inside the joint determines whether the repair lasts.
