Average response time: under 24 hours
Cut control joints to one quarter of the slab thickness, so a 150 mm slab gets a 38 mm deep cut, and cut them within 6 to 18 hours after finishing, before the concrete shrinks and cracks on its own. Space joints at 24 to 30 times the slab thickness, usually 3 to 4.5 m apart on 150 mm slab. If you see random hairline cracks before the saw arrives, you are already late; cut anyway, but accept that those cracks will have a head start.
Fresh concrete shrinks as it loses water and cools. Without a planned weak point, that shrinkage pulls the slab apart at random, leaving jagged cracks that catch water and break corners. A control joint is a deliberate groove placed where you want the crack to happen; the crack then follows the groove, hidden and straight, instead of wandering across the finished floor.
Cut too early and you tear the paste and spall the edges. Cut too late and the concrete has already cracked between the joints you just cut. The sweet window is when the slab can bear foot and saw traffic without raveling, but before shrinkage cracks appear. In warm dry weather that window can be only 4 to 6 hours; in cool damp weather it stretches to 18 or 24 hours.
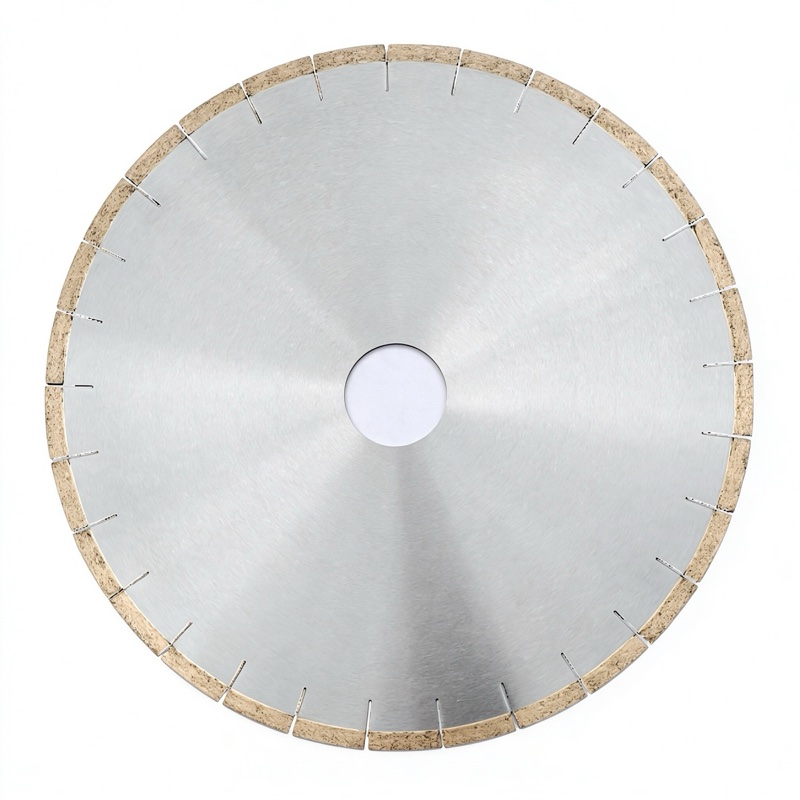
For fast turnover, early-entry saws cut within 1 to 4 hours with small blades and shallow depth, relying on the cutter to create the weak plane before cracks start. For conventional sawing after final set, a floor saw with a hard-bond blade keeps the joint narrow and straight. A high-frequency welded JOY CA-HF blade holds segment height well through hundreds of meters of jointing, which matters when you cut a whole warehouse slab in one day.
Follow this order on a new slab:
Depth is the number that decides whether the joint works. A joint cut shallower than one quarter will not guide the crack; the slab will crack underneath anyway. A joint cut deeper wastes blade life and water for no gain, because the crack follows the shallowest part of the groove. Measure depth with a tape in the kerf after the first run; do not trust the saw's depth scale alone, which can drift when the blade wears.
Place joints at 24 to 30 times the slab thickness. On a 100 mm slab that is 2.4 to 3 m; on a 150 mm slab it is 3.6 to 4.5 m. Reduce spacing by 20 percent in hot, dry, or windy conditions, and add a joint at every change of slab thickness or at every interior corner, where stress concentrates.
Plan the saw arrival from the finish time, not the pour time. In sun and wind above 25 degrees, be ready to cut in 4 to 8 hours; in cool damp weather you have 18 to 24 hours. A simple poke test: press the slab with a finger; if it leaves no mark and supports a saw wheel without denting, you are in the window.
The most expensive mistake is treating control joints as an afterthought. The finish crew should mark the grid while the concrete is still workable, and the saw crew should be booked for the same day, not the next morning. A missed 8-hour window on a 500 m warehouse means a floor full of random cracks.
Run water at 3 to 6 liters per minute, keep the saw on flat ground, and never lift a spinning blade out of a wet kerf. After cutting, wash the slurry off the surface before it dries, and cure the slab as planned. Browse the diamond saw blade lineup to size the blade to your floor saw arbor and depth needs.
If your project keeps cracking despite on-time joints, the cause is usually subbase settlement or lack of reinforcement, not the saw. Send us the slab thickness, mix, and climate through our contact page and we will suggest a blade and sawing schedule that matches the pour.
Written and reviewed by JOY TECH — an SGS & BV audited, CE/RoHS certified diamond tools manufacturer founded in 2004, exporting to 50+ countries.
Our factory and QMS are audited by SGS and Bureau Veritas. Products meet CE/RoHS requirements and every piece is 100% inspected before packing.
Verified Certificates
