Average response time: under 24 hours
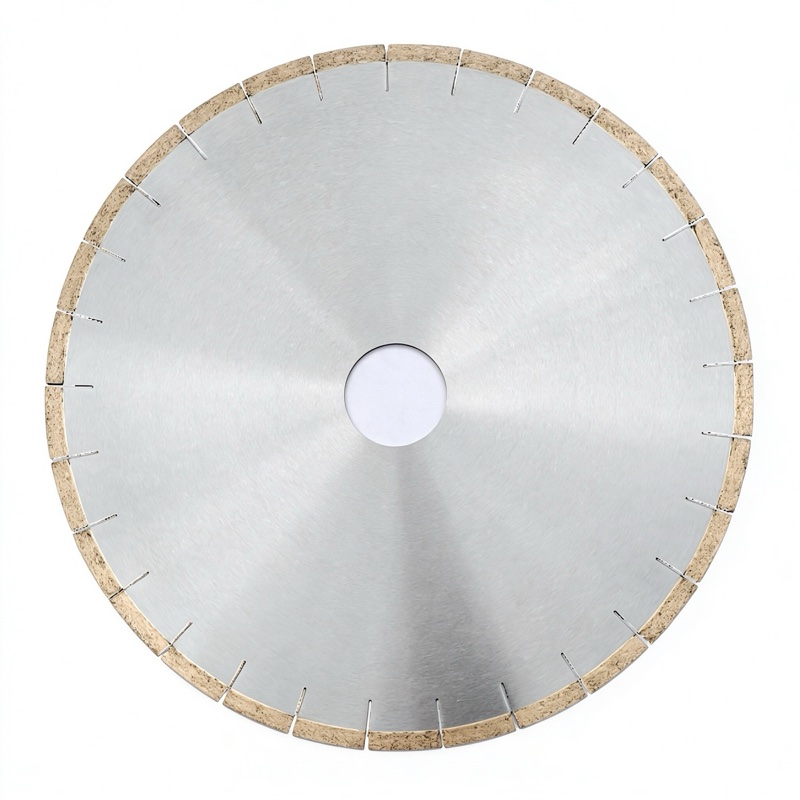
Cut expansion joints in a concrete driveway at 3 m spacing on a square grid, to a depth of about one quarter of the slab thickness (typically 25 mm to 35 mm on a 100 mm to 125 mm residential slab). Use a 350 mm walk-behind or handheld cut-off saw with a diamond blade, score a shallow line first, then run the full depth in a second pass. Cut within 6 to 12 hours of finishing in warm weather before the slab cracks on its own. Never cut deeper than the slab allows, and never skip the joint in a driveway that will carry cars or trucks.
Concrete moves with temperature and moisture. A 12 m driveway slab will expand and contract by several millimetres over a year of hot and cold weather. Without joints, that movement shows up as random cracks that track across the slab, usually next to the garage door or across the middle of the drive. The saw-cut joint is a planned weak line that forces the crack to happen in a straight, clean kerf that you can later fill with backing rod and sealant.
The spacing rule is simple: joint spacing in metres equals about 2 to 3 times the slab thickness in inches. For a 4-inch (100 mm) residential driveway, that means joints every 8 to 12 feet, or roughly 3 m. On long driveways, cut the joints across the width of the slab, not along it, so each panel stays roughly square. Add a joint where the driveway meets the garage apron, where it meets a walkway, and where the slab thickness changes.
For a typical residential driveway, a 350 mm walk-behind floor saw is the easiest tool. A handheld cut-off saw works for shorter runs but is tiring on the arms and harder to keep straight. Use a JOY CA-LW laser-welded blade on a cured slab, or an early-age green concrete blade if you are cutting the same day as the pour. Do not use a stone or tile blade on driveway concrete; the bond is too hard and will glaze. If you are cutting a 150 mm thick driveway apron that carries trucks, step up to a 450 mm walk-behind saw and a laser-welded blade rated for that diameter.
Aim for a joint depth of 25 mm to 35 mm on a 100 mm to 125 mm slab. The kerf should be about 3 mm wide, wide enough to clean out with a vacuum and later fill with sealant. If the kerf is too narrow, sealant will not stay in; if it is too wide, you are wasting blade life and weakening the slab. For long driveway runs, the full diamond saw blade range lists diameters and depths that match common rental saws.
Cut the joints as soon as the slab will support the saw without raveling the edge. In warm, dry weather, that is 6 to 12 hours after finishing. In cool or wet weather, it may take 24 hours. Test by pressing a hand float into the slab: if it lifts paste out rather than leaving a clean mark, wait. If you cut too late, random cracks will have already formed between the joints and the driveway will look patched even if the joints are straight. On a long weekend pour, schedule the saw crew for the same evening rather than the following morning.
Walk the driveway with a tape measure and mark the joint spacing with a chalk line before you start the saw. For a typical 6 m wide driveway, that means two joints across the width, each panel roughly 3 m wide. Mark the joint at the garage edge, at the middle of the driveway, and at the street edge, then snap a line between them. Double-check that the line is straight before the saw starts; a wavy joint on a driveway is obvious from the street and hard to fix once the kerf is cut.
Once the joint has been cut and the slab has cured for 7 to 14 days, it is time to seal the joint. Blow or vacuum the kerf clean, push a closed-cell backer rod into the bottom of the joint, then fill the top with a polyurethane or silicone joint sealant. Do not fill the joint with sand, gravel, or concrete patch; those materials will not flex with the slab and water will get under the driveway, freeze in winter, and lift the edge. A properly sealed joint lasts 10 to 15 years before it needs recutting.
If your driveway slab is thicker than 150 mm or includes reinforced concrete, talk to the blade supplier before you start. The team at JOY TECH support can match the blade diameter and bond grade to the slab thickness and whether you are cutting green or cured concrete.
Written and reviewed by JOY TECH — an SGS & BV audited, CE/RoHS certified diamond tools manufacturer founded in 2004, exporting to 50+ countries.
Our factory and QMS are audited by SGS and Bureau Veritas. Products meet CE/RoHS requirements and every piece is 100% inspected before packing.
Verified Certificates
