Average response time: under 24 hours
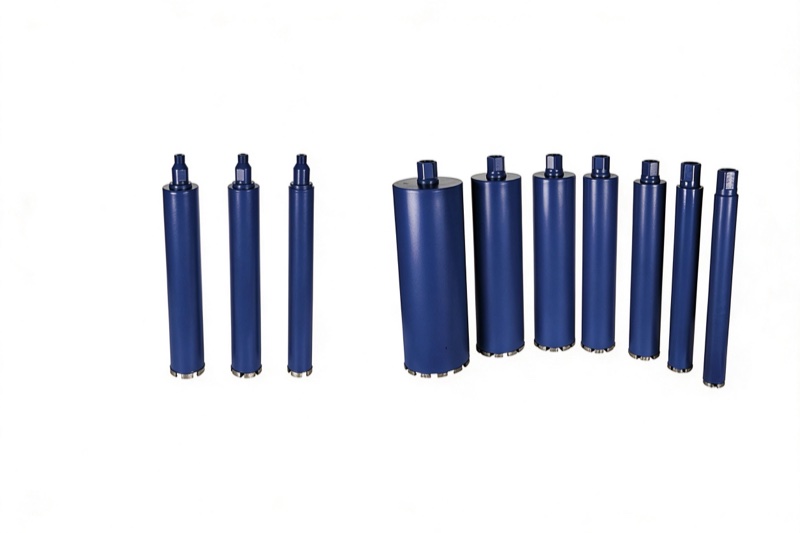
To drill through tile and into the concrete slab below in a single hole, use a diamond-tipped core bit or a wet-hole-saw bit on a low-speed drill rig, start with no percussion at 100-200 RPM to cut the tile glaze, then continue coring once you are through the tile. Keep water flowing, hold the drill perfectly perpendicular, and never switch to hammer mode. Done right, you get a clean hole with no cracked tile and no chipped edge around the opening.
Tile is hard and brittle; concrete is abrasive and porous. The same bit has to cut two very different materials. The tile glaze chips or cracks if you use percussion. The concrete dust binds the bit if you run it dry. The transition between the two is where most jobs go wrong: one moment you are in smooth ceramic, the next you hit a gravelly slab, and the bit can catch and skate across the tile face.
Use a diamond-tipped core bit, not a carbide masonry bit. Carbide will skate on the glaze and chip the tile edge. A wet diamond core bit with a thin diamond-rimmed tube cuts both materials cleanly. Carbide bits are for concrete only; they will scratch glazed ceramic and porcelain. For small holes up to 25 mm, a diamond hole saw on a 3/8-inch drill works. For larger holes of 50 mm and up, use a core drill rig with a 5/8-11 threaded bit.
Do not engage hammer or percussion mode at any point. Percussion cracks tile instantly. Even once you are into the concrete, keep the drill in coring, rotation-only, mode; the diamond rim cuts without impact.
When the bit crosses from tile into concrete, the sound changes from a smooth whine to a rough grind. At that moment, lighten the pressure slightly so the bit does not catch on the uneven edge of the tile. Keep water flowing to cool the diamond rim. If you feel the bit grab, back off, let it re-seat, and continue. Do not push through the grab; that is how tiles crack around the hole.
Wet drilling is strongly preferred on tile. Water keeps the bit cool, suppresses silica dust, and prevents thermal shock that can crack glazed porcelain. If you must drill dry, for example on finished tile where water is a problem, use a vacuum shroud and keep the speed low. Dry drilling on glazed porcelain risks thermal shock cracking the tile face. A dry diamond bit like the dry core bit cuts tile fine but wears faster without water.
For thick tile over a slab that has been skim-coated, the transition can be two or three layers. The diamond core bit range covers tile, stone, and poured concrete in the same bit, so you do not need to swap tools at the interface.
Before you start, tape a 10 cm square of masking tape over the mark. This stops the pilot bit from skating and also protects the glaze from stray slurry. If you are drilling near a corner where two tiles meet, take extra care; the grout line is a natural crack starter. Drill on the tile, not on the grout. If you must cross a grout line, slow the feed and expect the bit to wander.
For holes larger than 50 mm, a hand drill will wander and the tile will crack under the side load. Mount a small core drill stand on the wall or floor, use the appropriate bit, and let the stand hold the angle. The stand also gives you a stable platform for water feed and vacuum. For a single 25 mm hole for a tap or a pipe, a hand drill with a diamond hole saw is enough.
Once the bit exits the back side, if you are drilling through a wall, or reaches the desired depth, pull out slowly. Clean the hole with a damp rag. If the tile edge has a small burr, knock it off with a light pass of a diamond file. Do not use a carbide bit to clean up; it will chip the glaze. Wipe away slurry before it dries on the tile face.
Written and reviewed by JOY TECH — an SGS & BV audited, CE/RoHS certified diamond tools manufacturer founded in 2004, exporting to 50+ countries.
Our factory and QMS are audited by SGS and Bureau Veritas. Products meet CE/RoHS requirements and every piece is 100% inspected before packing.
Verified Certificates
