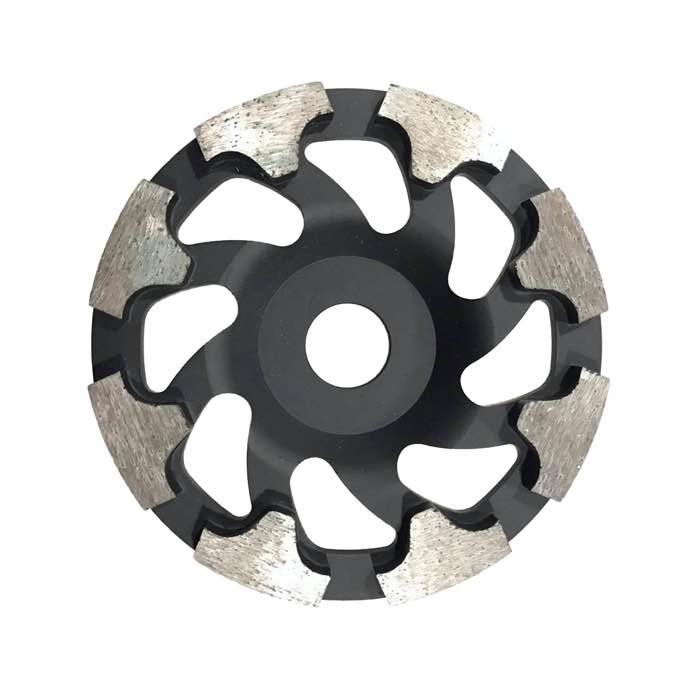
Grinding a basement floor is a great DIY-to-pro job: it removes weak laitance, levels rough patches, and profiles the slab for epoxy, stain or a vapor barrier. You need a walk-behind or angle grinder, diamond discs, a HEPA dust extractor, and a moisture test. Expect to grind 30-60 m² over a weekend, then let the floor dry before any coating.
Grinding opens the slab. If ground water is present, you will now see damp patches — that is useful information. Do not apply epoxy over a wet slab; it will blister. Use a vapor barrier or wait for proper drainage.
Basements are damp. Run a calcium-chloride or relative-humidity test before choosing a coating. If RH exceeds 75-80%, address drainage or use a vapor-venting system. Grinding opens the slab; it does not stop water vapor. Coating a wet slab guarantees blister failure.
Use GFCI-protected circuits and a HEPA extractor. Basement dust migrates upstairs through stairs and ductwork — seal the door with plastic and run an exhaust fan to the outside. Wear a P100 respirator; concrete dust in a closed room is concentrated.
After grinding, options include epoxy coating, stain plus sealer, or polished concrete. Epoxy is durable but yellows under UV; stain-and-seal is matte and natural; polished concrete needs densifier but is the lowest-maintenance. Pick based on how the room is used, not looks alone.
Epoxy gives a colorful, seamless floor but can delaminate over moisture. Polished concrete breathes and is durable. In wet basements, polishing plus densifier is safer than epoxy. Talk through moisture before choosing.
If the basement has radiant tubing embedded, grind lightly to avoid hitting pipes. Use a pipe detector first. Light grinding is safe; deep aggressive grinding risks the tubing.
Basement grinding costs less than finishing above ground because there is no decorative exposure. The big line items are machine rental, vacuum, discs, densifier, and sealant. Do not forget disposal of bags of concrete dust.
If the basement is large, wet, or has coatings, hire a contractor. DIY works for small, dry garage floors. For finished basement living space, professional grinding and epoxy is safer.
Clear the room, mask vents, and run a moisture test. Grind with 30/46 metal discs in cross-passes until laitance is gone. Edges by hand. Move to 80/120 grit. Vacuum thoroughly. If polishing, apply densifier and continue resin steps. If coating, let the floor dry 48 hours first. The whole job takes a weekend for a one-car garage.
Basements are enclosed. Dust does not blow away. Seal the stair door with plastic and exhaust outside. A P100 mask is non-negotiable — silica in a closed room concentrates fast.
Grinding a basement removes the weak layer, finds moisture, and prepares a flat surface for whatever finish you choose. Plan for dust control and moisture testing, and the job goes smoothly.
Large or wet basements are best left to contractors with industrial machines. For small dry garages, DIY works.
A: No — basement dust goes everywhere. Use HEPA extraction and plastic barriers.
A: Yes — epoxy needs a CSP 2-3 profile. Acid etching alone is less reliable.
For epoxy, grind off high spots and fill low spots; for vinyl, tolerance is tighter.
A: Wet avoids dust but creates slurry. Dry + HEPA is cleaner for basements.
Basement grinding is the foundation of any finished basement floor. Do it dry with extraction, check moisture, and coat promptly. Contact JOY TECH for the disc and cup wheel set to prep your basement.
