Average response time: under 24 hours
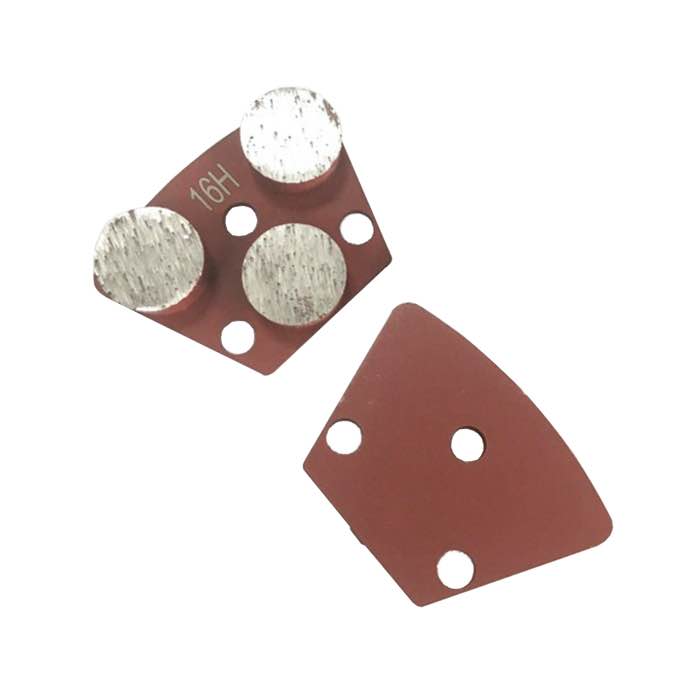
To blend a concrete patch invisibly into the old floor, let the patch cure at least 7 days, then grind across the transition at a shallow depth using a soft-bond diamond disc, feathering 100 to 150 mm onto the old slab on each side. Take several light passes rather than one heavy cut, and finish with a finer grit step so the profile matches the surrounding floor. The mistake that makes patches show is grinding only the patch itself; the repair line always appears where hard patch meets soft old concrete at a sharp edge.
A repair patch is almost always harder and denser than the slab it sits in, because modern repair mortars are formulated for strength. Under a grinder, hard concrete grinds slower than soft concrete, so the patch ends up slightly proud if you grind the whole floor together. To hide it, you must grind the transition wider and shallower than the patch itself, so the height difference fades over 200 mm rather than dropping at the edge.
Even when height matches, the patch shows because it is denser and takes sealer darker or lighter than the surrounding slab. Grinding the transition opens the pores on both sides of the seam and lets the sealer wet in at the same rate, which is half the battle. A patch that is only ground flat but not feathered still looks dark under sealer.
Because the patch is hard, use a softer bond disc that will cut it without glazing. A JOY-TP-S2 double-S soft-bond trapezoid disc grinds hard repair mortar cleanly and leaves a texture that matches older concrete. Reserve the harder-bond discs for the surrounding slab, or swap to a finer grit step once you cross the seam.
Blend the transition in this order:
Cross-hatching matters. Grinding only in one direction leaves a directional scratch pattern that reflects light differently on patch and old slab. Two directions at 90 degrees blur the line so the eye cannot pick out where the repair ends. After the passes, run a hand across the seam; it should feel flat with no lip, even if the color is still slightly different. The hand test catches lips that the eye misses.
Set the grinder to remove only 0.2 to 0.3 mm per pass across the transition. The goal is not to flatten the patch in one go, but to shave the proud edge a little at a time. Heavy cuts dig into the soft old slab faster than into the hard patch, and you end up with a valley next to the repair instead of a feathered blend.
Start with 30 or 46 grit to level the seam, then step through 70, 120, and 220 grit across the feather zone. Stop at the grit level that matches the rest of the floor; if the surrounding slab was ground at 120, do not finish the patch at 220, or it will look shinier and obvious.
A frequent error is feathering too narrow. The eye catches any transition within 50 mm; if you feather only 50 mm, you can still see it under sealer. Widen the feather to 150 mm and the repair becomes invisible even in bright light.
Use a dust shroud and HEPA vacuum; patch grinding throws fine repair-mortar dust that is extra silica-heavy. Run the grinder at steady walking pace, do not dwell on the seam, and let the tool do the cutting. Compare bond options in the grinding tooling category to match disc hardness to the repair mortar you used.
If your patch still shows after two grinding cycles, the cause is usually a color mismatch, not a height issue. Send us the repair mortar brand and the slab finish through our contact page; we will suggest a grit sequence and sealer timing that hides the transition.
Written and reviewed by JOY TECH — an SGS & BV audited, CE/RoHS certified diamond tools manufacturer founded in 2004, exporting to 50+ countries.
Our factory and QMS are audited by SGS and Bureau Veritas. Products meet CE/RoHS requirements and every piece is 100% inspected before packing.
Verified Certificates
