Average response time: under 24 hours
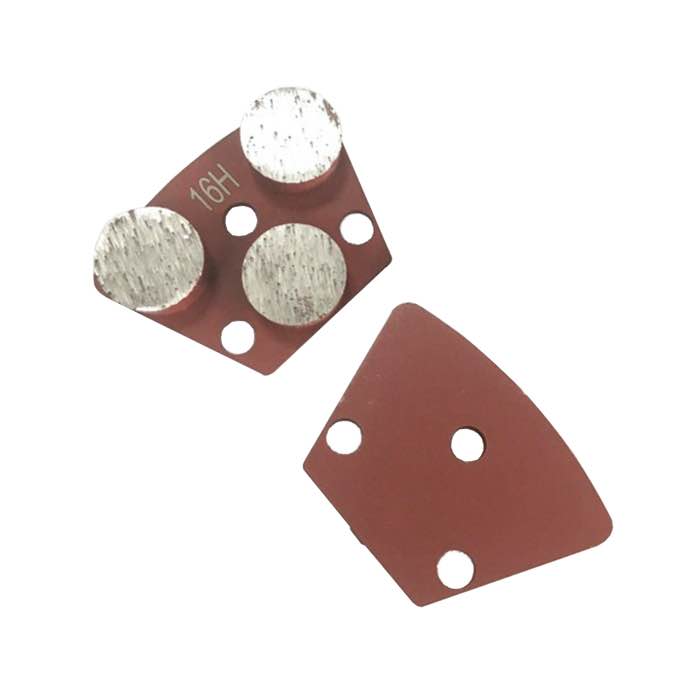
Grinding up to a wall without gouging the baseboard means leaving a 3 to 6 mm margin, protecting the wall with a strip of hardboard, and switching to a handheld cup wheel for the last 100 mm. Walk-behind grinders stop where the skirt cannot reach. Hold the angle grinder flat, tilt it away from the wall, and feed lightly. The order matters: grind the open floor first, then the edges, then touch up the margin. Push a 180 mm wheel into a corner and you chip the baseboard, nick the plaster, and score the drywall before you notice.
The center of a slab gives the grinder a flat, wide support. Against a wall, half the wheel is over air and half is pressed into concrete, so the head wants to dive. A baseboard, a plaster edge, or a finished floor trim sits right where the wheel is heaviest. Most edge damage happens in the first five minutes, when the operator is still learning how much the head tilts under load. Slow down before you reach the wall, not after.
Three things usually lose out: the baseboard itself, the wall plaster above it, and the concrete edge under your feet. A chipped vinyl or wooden baseboard means repainting; a gouged plaster edge means skimming; a rounded concrete edge means the patch bed at the wall will look wrong. None of these are cheap to fix once the floor is done. In occupied buildings, also expect dust on shelving, window sills, and door frames along the wall line; seal those off with plastic sheeting before you start grinding. The hand cleanup after a careless edge job often takes longer than the grinding itself.
Contractors leave 3 to 6 mm of unground concrete at the wall on purpose. That strip is later covered by the baseboard itself, so nobody sees it. It is also the safety margin that keeps your cup wheel off the trim. The mistake is grinding that strip away for a cleaner look and ending up with a rounded wall line.
Ten minutes of protection saves an hour of drywall repair:
A walk-behind grinder gets within 50 to 100 mm of the wall and stops. From there, a variable-speed angle grinder with a 115 or 125 mm diamond cup wheel takes over. Match the grit to where the walk-behind left off: if the big machine was at 40 grit, start the hand grinder at 40 grit and step up together. Use a shrouded edge wheel when you want the vacuum to follow the cup; open-shroud work means dust on the wall.
Cup wheels run best at 10,000 to 12,000 rpm on an angle grinder. Feed with the weight of the tool, not with your arm. When the wheel chatters, you are pushing too hard; when it glazes and stops cutting, you are moving too slow. The hand grinder is a precision tool here, not a second walk-behind. On long walls, work in 1 m sections so the mask and tape stay fresh; peeling a week-old strip pulls paint off the baseboard with it.
Sequence is the difference between a clean edge and a ruined baseboard:
| Step | Tool | Distance from wall |
|---|---|---|
| 1. Open floor | Walk-behind grinder | Stop 50 to 100 mm out |
| 2. Hand edge | 115 mm cup wheel | Feather to 6 mm margin |
| 3. Touch-up | Handheld, next grit | Blend into open floor |
A gouge happens when the cup wheel dives at the edge. You feel it as a sudden grab; you see it as a crescent chip in the baseboard or a vertical scratch in the wall. Prevent it by holding the grinder nearly flat and tilting the body slightly away from the wall, so the leading edge of the cup touches concrete, not trim. Never corner the wheel into the wall to get closer. Stop at the chalk line; the baseboard covers the rest.
If the cup grabs and skips, let the tool lift off. Do not clamp down with both hands; that is how operators wrench their wrists. Back up 100 mm, restart on flat concrete, and feather into the wall again. A deep dive on a hard edge can round the concrete so badly that a skim coat is needed before sealer goes down. Wear a glove on the leading hand so a sudden slip does not pull your palm across the spinning cup, and keep the vacuum hose clipped to the grinder so it does not drag the head into the wall mid-pass.
Peel the masking while the tape is fresh, vacuum the wall line, and run a straightedge from the open floor into the corner. The margin should be uniform, the transition flat, and the baseboard unmarked. If you nicked the plaster, fill it now before the sealer haze shows every defect. A clean edge is what separates a floor that looks hand-finished from one that looks machine-abandoned.
Written and reviewed by JOY TECH — an SGS & BV audited, CE/RoHS certified diamond tools manufacturer founded in 2004, exporting to 50+ countries.
Our factory and QMS are audited by SGS and Bureau Veritas. Products meet CE/RoHS requirements and every piece is 100% inspected before packing.
Verified Certificates
