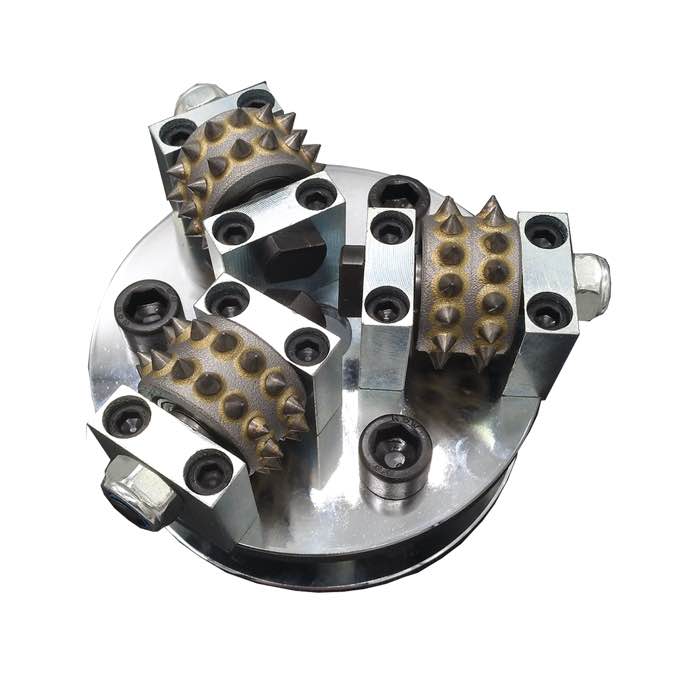
After grinding the main slab with a walk-behind machine, finish stairs and edges by hand with an angle grinder fitted with a diamond cup wheel. Use a 115-125 mm cup wheel for vertical edges and risers, and a bush hammer or small plate for treads. Work the same grit sequence as the floor (coarse metal first, then finer), feathering into the machine ground area so there is no visible line.
A walk-behind grinder leaves a 100-150 mm unground band along every wall, and cannot reach stair tread nosings, risers, corners or drains. If you skip this band, the finished floor has a rough halo around the perimeter. Hand grinding is slower and harder to keep flat, but it is mandatory.
Grind each tread and riser flat. Start with the cup wheel at 30/46 grit to flatten form-tie marks and trowel ridges, keeping the wheel flat on the surface — never tilt the edge of the cup, which digs gouges. Feather the edge so the hand-ground band blends into the machine ground floor. Then step up through 80, 150 and 300 grit using small hand pads, matching the floor's finish level.
Hold the cup wheel at a slight angle only to reach the wall corner, then flatten to smooth. Use the shroud's brush skirt to capture dust. For overhead or vertical riser work, a smaller 100 mm cup wheel gives better control.
| Floor finish | Edge grit to stop at |
|---|---|
| Ground / matte | 150-300 |
| Satin polish | 400-800 |
| Gloss / mirror | 1500-3000 |
Contractors lose money by forgetting edges. A rule of thumb: edge and stair work adds 30-50% to the total grinding time. Measure the linear wall footage and stair risers, and price it separately. On a 100 m² room with 40 m of wall, edge grinding alone can take half a day.
Stair nosings are the most fragile part. Do not grind the sharp corner aggressively — it chips. Instead, flatten the tread center and riser face, then lightly break the nosing edge with a fine hand pad. If the nosing is already rounded or damaged, consider a cement repair cove rather than grinding.
Because edges are hand-worked, they tend to polish duller than the floor. Plan to spend an extra pass on stair treads and edges with the same resin grit used on the floor. Walk the finished stairs at a low angle; any dull patch needs another resin pass.
Wall corners and around drains need small hand tools: a 3-inch diamond pad on a right-angle grinder, or a handheld diamond block. Do not try to reach corners with a 5-inch cup wheel — it chips the wall. Spend the extra time on corners; they are where inspectors look first.
Mask adjacent walls and finished trim before edge grinding. Concrete dust etches glass and stains baseboards. After grinding edges, wipe walls with a damp cloth before dust sets. Vacuum stair treads carefully — dust on steps is a slip hazard.
The boundary where hand grinding meets machine grinding is a classic weak point. Feather the last 10 cm by running the cup wheel outward from the wall, matching the floor's exact grit. If the edge looks duller than the center, it is because hand pressure is uneven — spend an extra resin pass there. Walk the finished floor at a low angle and run your hand along the wall; any ridge catches the palm.
A: Only small, dedicated stair grinders. Standard walk-behind machines are too heavy and unsafe on stairs; use hand tools.
A: Feather the last 10 cm of machine ground area with the hand cup wheel, and match the exact grit sequence on the edge.
A: Use a smaller cup wheel or hand-held diamond pad; do not try to round a sharp nosing aggressively — it chips.
A: Yes, for indoor silica control. Wet edge grinding is an alternative but creates slurry.
Stairs and edges win or lose the job. Plan for hand grinding time separately — edges can take 30-50% of total labor. Contact JOY TECH for cup wheels, bush hammer plates and hand resin pads for perimeter work.
