Average response time: under 24 hours
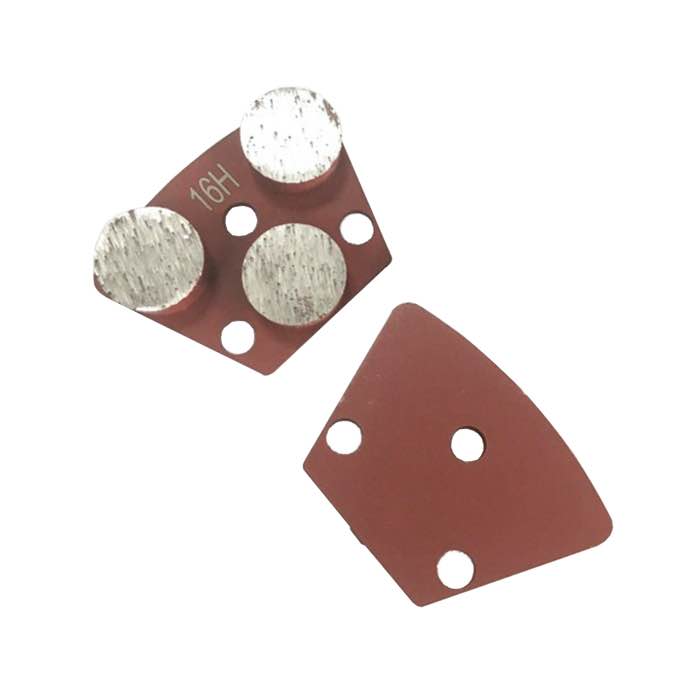
Thin-set tile fails most often not because the adhesive is weak, but because the concrete floor was too smooth, too dirty, or too out of level to bond. Grinding opens the surface, removes laitance and curing compounds, and reveals the true flatness. The target is a clean, open scratch pattern with flatness around 3 mm over 3 m, a fully cured slab within the tile installer's moisture range. After grinding, vacuum twice, keep traffic off the dust, and apply a primer or bond coat before the thin-set goes down.
Thin-set is a bedding adhesive, not a structural filler. It needs mechanical profile plus chemical compatibility with the slab. A smooth trowel finish gives the cement paste nothing to grip, and a chalky laitance layer bonds to itself rather than to the tile. Grinding removes both in one pass and leaves the open pores that the adhesive paste needs. Architects and tile setters call this an "open" surface, and it is the difference between a bond that lasts the life of the building and one that grouts out in the first heating season.
The cement paste in thin-set interlocks with exposed aggregate and soaks into open pores. That grip fails if a curing membrane, wax, or oil sits between the paste and the concrete. A water-bead test tells the story instantly: beads that roll off mean the surface still rejects adhesives.
Run the water-bead test, scrape a coin across the floor, and lay a 3 m straight edge before you book tooling. If the floor beads water, powders under a scraper, or rocks under a straight edge, the grinder comes first, the tile comes later.
Water beads instead of soaking in; a white glove drags up chalk; the trowel sheen survives years of traffic. These are the surfaces that delaminate at the grout line six months after install.
Straight edge gaps over 3 mm mean lippage waiting to happen. Puddles that stand after rain, a wet basement, or a young slab still curing all warn that the moisture range is outside the adhesive spec. Test with the tool the tile setter actually uses, not with a guess.
Keep the grind open, not pretty. The goal is profile, not polish, so stop at the first uniform scratch and move on. Over-grinding wastes tooling and burns hours the tile setter was supposed to bill. On large floors, grind in the same direction the tile will run so any residual scratch pattern lines up with the installation rather than across it. Finish each bay with a straight-edge check before you move the rig, because you cannot come back after dust has settled and primer has gone down.
Grinding fixes texture, not depth. Record your numbers before you leave the floor, and hand the tile setter a sheet rather than a verbal promise. Mark high spots with chalk as you grind, because the flatness check reads differently once the slab is dust-free. If a straight edge shows gaps you cannot grind away, stop and call the installer; the fix is a patch, not a deeper pass, and a deeper pass will only glaze the surface.
| Check | Typical limit | How to measure |
|---|---|---|
| Flatness | 3 mm over 3 m | Straight edge and feeler gauge |
| Moisture | Within thin-set spec | CM test or RH reading |
| Surface profile | Open light scratch | Visual and finger check |
Grinding opens the skin; it does not fill the holes. Spalls over 1 cm, cold joints, and deep cracks need repair before any adhesive goes down, and you will waste your day if you try to grind them flat. A deep patch cures faster than a failed tile job, so patch first and grind the patch later.
Active hydrostatic water, green concrete under 28 days, and power-troweled floors polished hard enough to feel glassy are not fixed by a grinder. Coatings, old adhesives, and gypsum underlayment need their own removal path. If the floor fails the water-bead test after one grind, stop and call the installer back.
How fine should the final grind be? For most thin-set jobs, a single 30/40 metal-bond open is enough. Denser adhesives may want a 60 grit pass. Stop once the surface is uniformly open; you are not preparing a showroom.
Can I grind a young slab early? Wait the typical 28-day cure. Grinding early sands the surface laitance and weakens the paste the adhesive needs. If the schedule pressures you, grind only off the edges and test the core hardness before committing.
Written and reviewed by JOY TECH — an SGS & BV audited, CE/RoHS certified diamond tools manufacturer founded in 2004, exporting to 50+ countries.
Our factory and QMS are audited by SGS and Bureau Veritas. Products meet CE/RoHS requirements and every piece is 100% inspected before packing.
Verified Certificates
