Average response time: under 24 hours
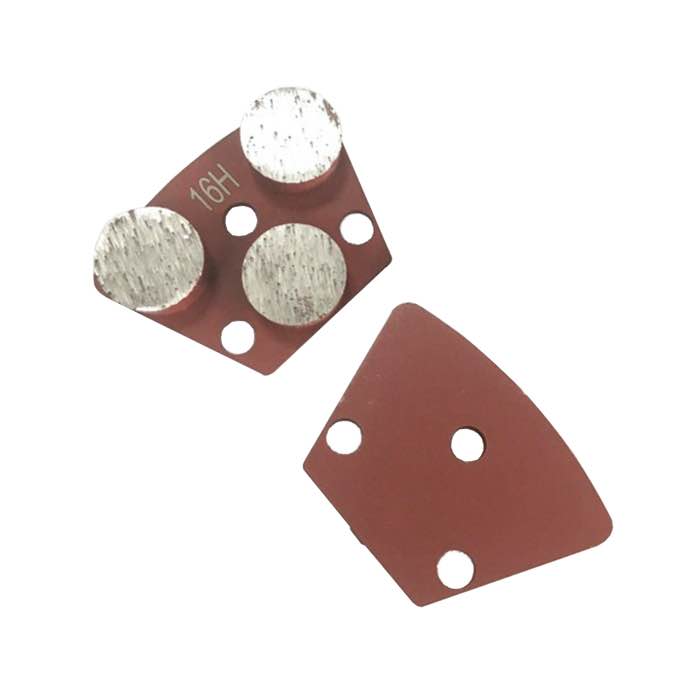
To level a concrete floor by grinding high spots, first mark the humps with a 2 m straightedge and a felt marker, then grind them down with a coarse 16/18 or 30/40 grit trapezoid disc in passes of 0.2-0.3 mm per pass. Feather the edges of each spot so the transition blends into the surrounding floor, and re-check with the straightedge after every two passes. Do not try to take a 5 mm bite in one pass; that glazes the tooling, burns the motor, and leaves a low crater next to the high spot.
Drag a 2 m straightedge across the floor in both directions and mark any gap larger than 3 mm over 2 m with a felt pen. Most high spots are the trowel ridges left by the finisher, or small humps where a pump truck dumped extra concrete. Mark them in a grid so you know the boundaries of each spot, not just the center. A spot that looks small by eye often spreads over a 600 mm radius once you measure it. Mark the whole gap, not just the center peak, because the grind will follow the boundary.
For larger areas, run a laser level across the slab and mark contour lines at 2 mm intervals. That gives you a map of where the floor is highest and how much to remove. Without a map, you will grind the middle flat and leave the edges high, which is a common mistake on slabs finished by hand. The map also tells you whether the problem is one spot or a whole bay that needs an overlay.
Use a double-S segment trapezoid disc in a 16/18 or 30/40 grit for fast metal removal. The double-S segments bite the hump aggressively without digging a groove. Match the bond to the concrete: soft bond for hard dense paste, hard bond for abrasive sandy mixes. Browse the full grinding tooling category before you start so you have the right grit progression on hand.
A single-head planetary grinder is fine for isolated spots under 1 m across. For larger humps or a floor that is high across a whole bay, use a 2-head or 3-head grinder so the pressure spreads evenly and you do not dig a crater in the center of the hump. Multi-head grinders also leave a flatter scratch pattern, which saves polishing time later. On small isolated humps, a single-head grinder lets you feather the spot more precisely because you can steer the machine by hand, while a 2-head grinder feels heavy and overshoots a small spot.
Stop when the floor reads within 3 mm over 2 m. Grinding beyond that wastes time and thins the paste. If the hump is over 5 mm high, plan on a coating job or a self-leveling overlay after grinding; grinding it down completely will expose the aggregate and leave a weak patch. Measure as you go, and do not trust visual judgment on a floor that looks flat but slopes. Keep a pen and straightedge on the grinder so you can check between passes. If a spot spreads under the grinder, do not chase it outward with the tool; step back, re-map the floor, and decide whether the whole bay needs a light cut rather than local repair.
If the floor is over 5 mm out of level across more than 20 percent of the area, grinding alone may not be the right fix. Contact the JOY TECH team with your spot sizes and grinder model, and they will recommend the right disc grit progression to level the slab efficiently without wasting diamond tooling on over-grinding.
Written and reviewed by JOY TECH — an SGS & BV audited, CE/RoHS certified diamond tools manufacturer founded in 2004, exporting to 50+ countries.
Our factory and QMS are audited by SGS and Bureau Veritas. Products meet CE/RoHS requirements and every piece is 100% inspected before packing.
Verified Certificates
