Average response time: under 24 hours
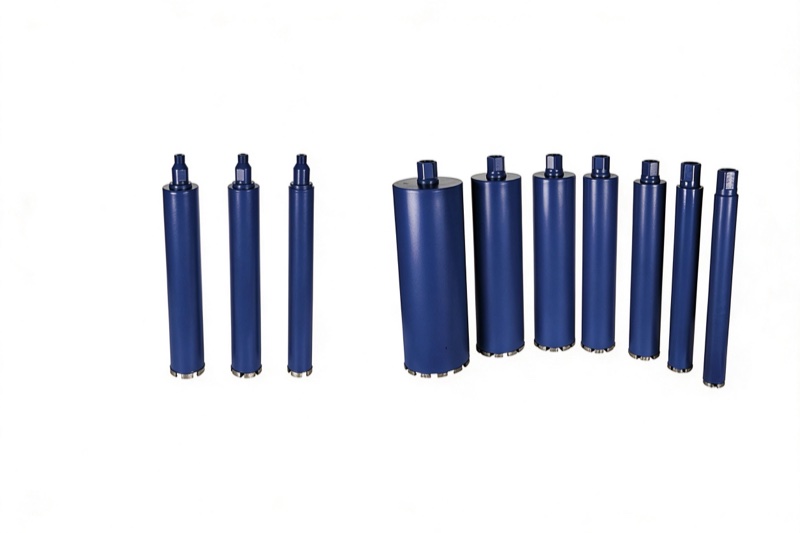
Drill a hole to the anchor manufacturer's specified diameter and depth, clean the hole completely, then set the anchor: wedge and sleeve anchors are driven and tightened, drop-in anchors are expanded with a setting tool, and epoxy anchors are filled with adhesive before the rod is inserted. Use a hammer drill with a carbide bit for holes up to about 25 mm and a diamond core drill bit for larger or cleaner holes. Location, depth and cleanliness decide whether the anchor actually holds.
Mark the hole, drill vertically, and use the exact diameter the anchor specifies; most mechanical anchors need a hole 0.5-1 mm larger than the anchor body. A hammer drill with a sharp carbide bit drills most holes up to 25 mm quickly. For larger diameters, through-wall work, or clean round holes, use a core bit. Do not oversize the hole: an oversize hole reduces the anchor's grip. Drill deeper than the anchor embedment so dust collects at the bottom instead of blocking full insertion. For a level installation, use a drill guide or a level on the drill body.
Hole cleaning is the step most often skipped and the main cause of anchor failure. Blow the hole out with compressed air, brush it with a wire brush the same diameter as the hole, and blow again. For epoxy anchors, the hole must be dry and dust-free; some adhesives specify brushing and blowing several times. Do not rinse mechanical anchor holes with water unless the anchor is rated for it, because water can reduce friction grip. On deep holes, clean in stages: brush, blow, brush, blow.
| Anchor type | Hole cleaning | Setting method |
|---|---|---|
| Wedge / sleeve | Blow out dust | Drive + tighten nut |
| Drop-in | Blow out dust | Set with setting tool |
| Epoxy / adhesive | Brush + blow, dry | Inject, insert rod |
| Through-bolt | Full clean | Nut and washer both sides |
Wedge and sleeve anchors: tap the anchor into the hole until the collar seats, then tighten the nut the specified amount, which expands the wedge into the concrete. Drop-in anchors: drive the anchor flush, then use the setting tool and hammer to expand the internal cone. Never tighten the item being anchored until the expansion is set. Check the manufacturer's torque value; over-torquing strips the threads or crushes the concrete, under-torquing lets the load pull out. For outdoor or wet installations choose galvanised or stainless anchors.
Epoxy anchors are for loads, cracked concrete, and edge situations where mechanical anchors are not allowed. Clean the hole as above, inject adhesive from the bottom of the hole so air escapes, and insert the rod with a twisting motion until it seats and adhesive oozes out. Keep the rod still until the adhesive gels, using wedges or tape if needed. Do not load the anchor until the full cure time has passed. Temperature matters: some adhesives slow or stop curing below 5 °C.
After setting, verify the anchor is straight, the embedment is correct, and any expansion or adhesive is fully engaged. For mechanical anchors, a quick pull test on a spare anchor confirms the concrete quality. For epoxy, check for adhesive at the surface and full rod insertion. On critical installations, test one anchor to failure in an offcut or non-critical area so you know the concrete's actual holding capacity. Record the anchor type, size, and torque on the job sheet for inspection.
For accurate holes, use diamond core drill bits rated for the concrete and the machine you are running.
For reinforced concrete, a wet-rated core drill bit keeps the cut cool and the hole clean.
Written and reviewed by JOY TECH — an SGS & BV audited, CE/RoHS certified diamond tools manufacturer founded in 2004, exporting to 50+ countries.
Our factory and QMS are audited by SGS and Bureau Veritas. Products meet CE/RoHS requirements and every piece is 100% inspected before packing.
Verified Certificates
