Average response time: under 24 hours
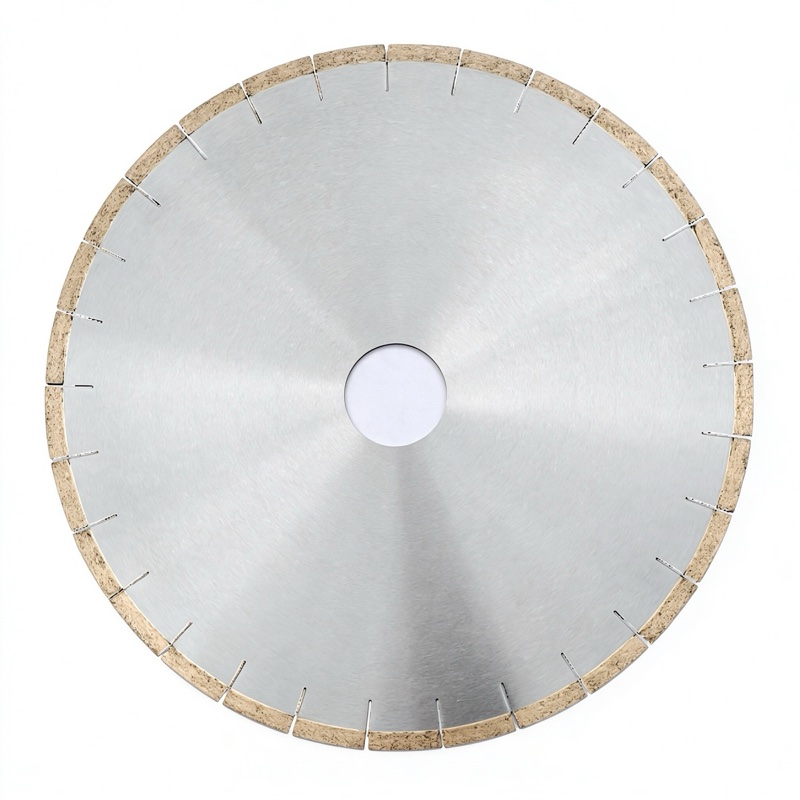
Cut curved lines in concrete with a small diamond blade saw, not a large wall saw, by making a series of closely spaced plunge cuts along the marked curve, then breaking out the waste and grinding the edge smooth. A straight-slot diamond saw blade on a handheld cut-off saw or grinder gives the control you need for radii down to about 30 mm. For tighter curves use a core drill or nibbler; for large flowing curves a track-mounted saw with a guide template works best.
Draw the finished line on the concrete with chalk or a marker, then add a second line 3-5 mm outside it to allow for blade wander and a final edge pass. Tape a flexible steel or plastic guide strip along the curve and clamp it every 300 mm. This gives the saw base a physical reference so the blade follows the intended radius instead of drifting on the smooth surface.
Blade diameter controls how tight a curve you can cut. With a 100-115 mm blade you can follow radii of about 30-50 mm; a 230 mm blade needs at least a 150-200 mm radius because the blade body binds. Use a laser-welded or brazed diamond saw blade rated for concrete; segmented rims clear dust well, while a turbo or continuous rim leaves a smoother edge. Match the blade to the concrete hardness: soft green concrete needs a hard bond, hard cured concrete needs a soft bond.
| Curve radius | Recommended blade | Method |
|---|---|---|
| R 1000 mm + | 230-350 mm blade, track saw | Guided plunge passes |
| R 150-500 mm | 125 mm blade, handheld | Multiple plunge cuts |
| R 30-150 mm | 100 mm blade or core drill | Plunge + breakout |
| Tight corners | Core drill + grinder | Drill corners first |
Start each plunge with the blade spinning at full speed and lower it slowly through the concrete, letting the blade do the work. Space plunge cuts every 10-20 mm along the curve, each one reaching full depth. Keep the guide strip against the saw base so the sequence of plunges follows the marked radius. Cut the curve in two or three depth passes when the concrete is thicker than the blade diameter can reach in one go.
After the plunge series is complete, the waste inside the curve is only connected by thin webs. Tap it free with a hammer or break it out with a small pry bar, working from the centre out. Clean the edge with a diamond grinding disc on a grinder to remove scallops left by the plunge cuts. Run a final pass with a finer grit to smooth the radius and remove chips before sealing or patching.
Wet cutting keeps the blade cool and controls dust, which matters when the curve is indoors or near finished work. Use a water feed at low flow so the guide strip stays visible. Dry cutting is faster to set up but produces heavy silica dust, so wear an N95 or better respirator and keep bystanders clear. Whichever method you use, cut from the top face down so any chipping happens on the hidden underside.
Do not force the saw sideways to follow the line; the blade will bind and may break. Cut small sections and reposition instead. Do not use a full-depth single pass on thick slabs; the blade overheats and the curve wanders. Do not skip the guide; freehand curved cuts almost always drift. And always support the waste side so the piece does not drop and pull the blade sideways as it is cut free.
Written and reviewed by JOY TECH — an SGS & BV audited, CE/RoHS certified diamond tools manufacturer founded in 2004, exporting to 50+ countries.
Our factory and QMS are audited by SGS and Bureau Veritas. Products meet CE/RoHS requirements and every piece is 100% inspected before packing.
Verified Certificates
