Average response time: under 24 hours
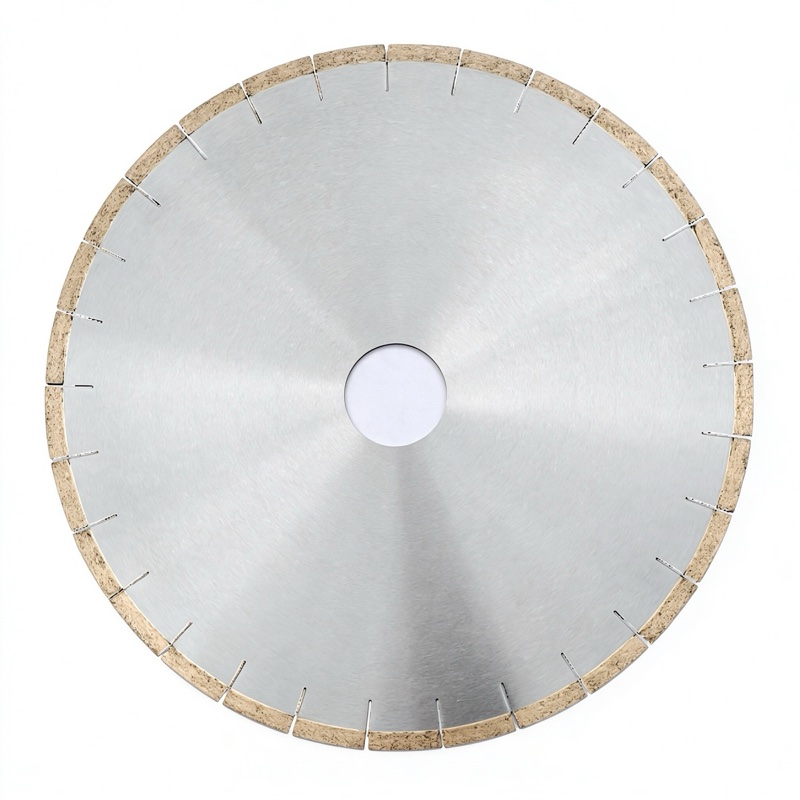
Cut expansion joints, also called control joints, in concrete with a saw once the slab is hard enough to cut without raveling, usually 12-24 hours after placement, cutting to a depth of one-quarter to one-third of the slab thickness. A diamond saw blade on a walk-behind or handheld saw makes clean straight cuts. Space joints 24-36 times the slab thickness in feet, and seal the finished cut with a joint filler or leave it for a sealant.
Timing matters more than anything else. Cut too early and the concrete ravels along the edges; cut too late and the slab cracks in a random place before you make the joint. For most slabs, cut between 6 and 18 hours after finishing, when the concrete is firm enough to walk on without leaving marks but before shrinkage cracks develop. The rule of thumb is to cut as soon as you can without tearing the surface. In hot weather cut earlier, in cold weather you can wait longer.
Spacing depends on slab thickness. Multiply the slab thickness in inches by 24 to 36 to get the spacing in inches. A 100 mm (4 in) slab therefore gets joints every 2.4-3.6 m (8-12 ft), and bays should stay roughly square, with the length no more than about 1.5 times the width. Depth is the critical spec: cut at least one-quarter of the slab thickness, and one-third is common practice, so a 100 mm slab gets a cut about 25-33 mm deep. This weakens the plane so cracking happens along the joint.
| Slab thickness | Joint depth | Max spacing |
|---|---|---|
| 100 mm | 25-33 mm | 2.4-3.6 m |
| 150 mm | 38-50 mm | 3.6-5.4 m |
| 200 mm | 50-67 mm | 4.8-7.2 m |
For control joints use a blade that can reach the required depth in one pass; a 300-350 mm blade on a walk-behind saw cuts a 25-33 mm joint in one pass. For small slabs or tight areas a 230 mm handheld saw with a straight-slot blade works. Match the bond to aggregate hardness: hard, dense concrete needs a soft bond; soft concrete needs a hard bond so the blade does not glaze. Set the depth stop before starting and test on a scrap or at the slab edge.
Wet cutting is strongly preferred for control joints because it keeps the blade cool, controls dust, and leaves a cleaner cut. Follow the chalk line with the saw base riding the slab, let the blade weight do the cutting, and keep a steady pace. Do not force the saw. If the blade starts to slow or the motor labours, ease off; forcing creates heat and glazing. Finish the full depth in one pass where possible; stepped passes leave a shelf that can spall.
After cutting, flush the joint with water to remove slurry and let it dry. For joints that will take sealant, install a backer rod and apply a compatible sealant. Joints left open should be edged to remove burrs. Avoid sealing control joints with rigid materials; the joint must remain free to open and close as the slab shrinks and moves. If the cut raveled along the edges because you cut too early, let the concrete cure and grind the edges smooth with a diamond grinding disc before sealing.
Written and reviewed by JOY TECH — an SGS & BV audited, CE/RoHS certified diamond tools manufacturer founded in 2004, exporting to 50+ countries.
Our factory and QMS are audited by SGS and Bureau Veritas. Products meet CE/RoHS requirements and every piece is 100% inspected before packing.
Verified Certificates
