Average response time: under 24 hours
To install a floor drain in a concrete slab, cut a round or square opening 25-50 mm larger than the drain flange, using a wet diamond core drill for round drains or a diamond saw for square trench drains. A wet diamond core bit for slab work makes clean circular openings from 100 mm to 200 mm diameter at 500-900 RPM. Typical shower drains are 100-150 mm; laundry drains 100 mm; garage trench drains are cut with a saw, not a core bit. Always locate the existing waste line under the slab before cutting, and slope the opening so the drain sits flush with the finished floor.
A floor drain has a flange that sits on top of the concrete and a body that drops through the slab into the gravel bed below. The opening must be large enough to drop the body through, but not so large that the flange lacks support. Round drain bodies usually need a core hole 25-40 mm larger than the body OD.
| Drain type | Body OD | Core hole size | Method |
|---|---|---|---|
| Shower point drain | 100 mm | 125 mm | Round core bit |
| Laundry / utility | 100-110 mm | 125-130 mm | Round core bit |
| Basement floor drain | 150 mm | 175-200 mm | Round core bit |
| Trench drain | 50-100 mm wide | Long slot | Diamond saw, not core |
Find the existing waste line. A floor drain in a new slab connects to a stub-up already set by the plumber. In a retrofit, you are cutting a new opening to reach a waste line 300-500 mm below the slab. Confirm the line location with a plumber's camera or by probing with a thin rod. Cutting through a water pipe or a sewer line already in the slab is a messy, expensive mistake.
Check the slab thickness. Residential slabs are typically 100 mm; commercial slabs 150-200 mm. Mark the hole circle on the floor with a pencil, and double-check the drain flange sits flat. If the slab is thicker than the bit barrel, use a threaded extension tube on the core barrel to reach through.
Use a core drill stand anchored to the slab with wedge bolts, or a handheld core drill on small jobs. Wet drilling is standard: water through the spindle cools the bit and flushes slurry. Build a small ring dam of wet rags around the hole to contain slurry, and route the water to a bucket. On finished floors, cover surrounding tile or epoxy with cardboard to prevent scratches.
Once the opening is cut, clean the edge with a brush. Lower the drain body into the hole, connect it to the waste line, and level it so the flange sits flush with the finished floor. Pack the annulus around the body with hydraulic cement or a backer rod plus sealant. For shower installs, add a waterproof membrane around the flange before the tile goes down.
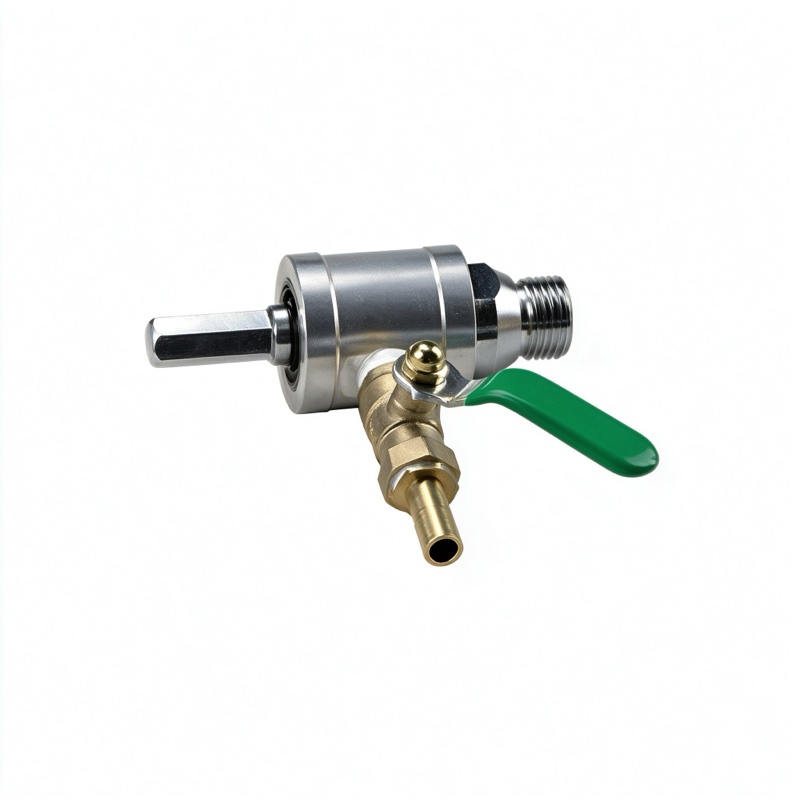
If you are cutting a square trench drain opening, a circular core bit will not work. Use a diamond saw blade on an angle grinder or a walk-behind saw to cut the slot. A core drill accessory kit with a trowel and finishing tools helps pack the sealant around the drain body cleanly.
A floor drain only works if the floor slopes toward it. Most showers slope 1-2 percent; garage and basement drains slope 0.5-1 percent. When you pour the topping or self-leveling compound around the drain, screed to the drain flange so water runs toward it. A drain that sits proud of the floor pools water; one that sits below the floor creates a trip hazard.
A 125 mm core bit for a standard 100 mm drain body. Confirm with the drain manufacturer's flange spec.
You can, but it leaves a rough edge that cracks and does not seal. A diamond core bit gives a clean round opening that matches the flange.
The core drill cuts the concrete slab only. Once through, dig out gravel by hand to expose the waste line and seat the drain body.
100 mm on grade. Commercial and garage slabs run 150-200 mm. Match the bit barrel length to the slab depth plus topping.
A floor drain install is a clean circular core hole, sized to the drain body plus flange, drilled wet on a rig. Locate the waste line, cut the opening, pack the annulus, and slope the floor toward the drain for a long-lasting waterproof connection.
Written and reviewed by JOY TECH — an SGS & BV audited, CE/RoHS certified diamond tools manufacturer founded in 2004, exporting to 50+ countries.
Our factory and QMS are audited by SGS and Bureau Veritas. Products meet CE/RoHS requirements and every piece is 100% inspected before packing.
Verified Certificates
