Fix grinding marks on concrete by re-grinding the surface with progressively higher diamond grits in overlapping passes, then honing and polishing until the scratch pattern disappears. Marks are almost always caused by skipping grits, pressing too hard, or running the head too fast — so correct the technique, not just the tool.
Swirl marks are the leftover scratch pattern from the previous grinding pass. Common causes:
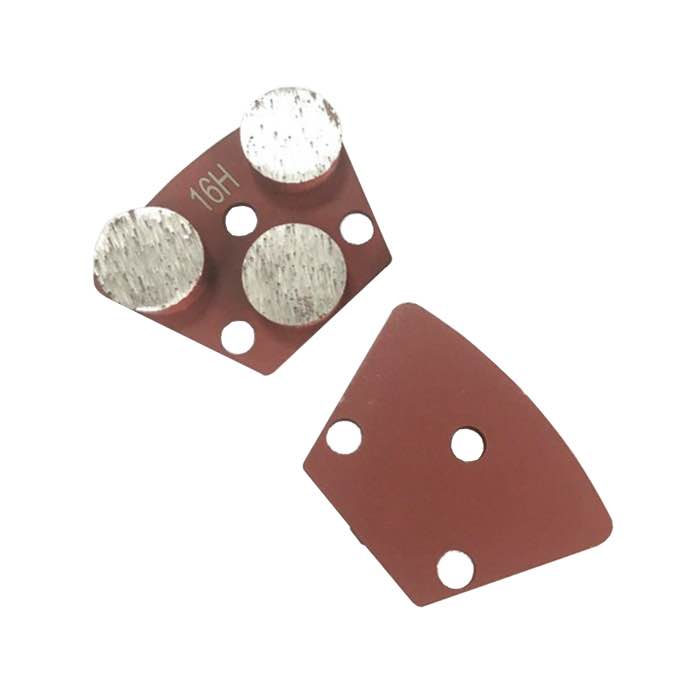
Go back one or two grit steps below the worst visible scratch. If the surface shows deep 30/40 marks, re-grind at 30/40 with JOY trapezoid metal-bond discs until the deepest grooves are gone, then step up 60/80, 120, and 220. Never skip a grit in the sequence — each step removes the scratches made by the previous one.
After re-grinding, move through 220 → 400 → 800 resin or hybrid pads, then polishing pads up to 1500 or 3000 depending on the gloss you want. For a matte, stain-ready finish, stop at 220-400. For polished concrete, complete the full sequence. Using PCD trapezoid discs at the start also helps level high spots before metal-bond grinding.
A: No. Start one or two grits below the deepest visible scratch, not necessarily from the first grit. Only deep gouges or lippage need coarse re-leveling.
A: Polishing pads will polish the top of the scratch but leave the valley visible under raking light. You must re-grind deep enough that the scratch pattern is physically removed.
A: Sealer and densifier amplify light reflection at the surface. Tiny scratches that were invisible when dry become visible after coating, so the surface must be scratch-free before sealing.
A: Stop at 220-400 grit for an open, stain-ready profile. Polishing above 400 closes the surface too much for some stains to penetrate evenly.
Grinding marks are fixable: re-grind at the correct starting grit, control speed and pressure, work in overlapping cross-hatch passes, and finish with honing and polishing. Choose matched JOY grinding tooling for each step and the surface will come out uniform and scratch-free.
