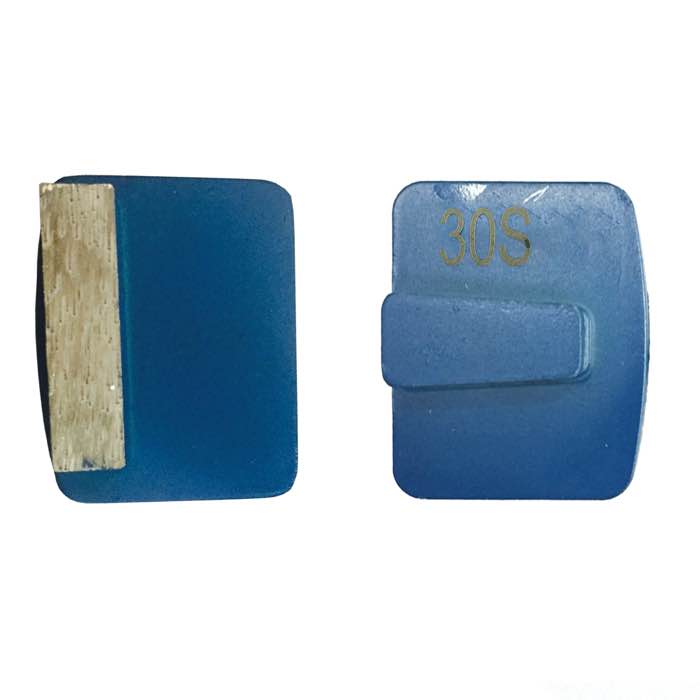
To grind concrete smooth without leaving scratches, never skip more than one grit step, keep the grinder flat and level on the floor, and fully remove the previous grit's scratch pattern before moving up. Most "grind marks" are skipped grits: a 30-grit scratch cannot be removed by 150-grit resin. Run metal 30 → 60 → 120, transition, then resin 150 → 300 → 500, checking the floor at a low angle under bright light between steps.
Never jump more than one or at most two grit sizes. After each step, inspect at a raking angle with a work light. You should see a uniform scratch direction. Any swirl, skip patch or directional mark means the current grit is not done. A typical sequence on a planetary grinder uses a metal disc like the Husqvarna single-bar segment disc at 30 and 60, then finer metal or resin.
Walk-behind grinders must sit flat. If the operator leans on the handle, the front edge digs in and leaves crescent scratches. Use the machine's weight, not muscle. For stubborn high spots, make a targeted pass rather than pressing down. On edges, use an angle grinder with a cup wheel held flat — tilting the corner of a 5-inch cup wheel is a classic cause of gouges.
Sweep or vacuum the floor between every grit change. Coarse dust from the previous pass gets trapped under the next pad and scratches the surface. Change pads when they load, and do not use a worn, unevenly worn disc — it leaves a "washboard" pattern.
If a finished floor shows swirl marks, back up one grit step, not two. For example, if 500-grit polish shows 150-grit marks, go back to 300 and re-open, then re-run 500. Trying to polish them out only hazes the floor.
The professional way to find hidden scratches is raking light. Hold a bright LED work light at floor level and walk slowly. It throws long shadows that reveal every swirl, skip patch and directional mark invisible under overhead light. Do this between every grit change. If you cannot see the light, you cannot trust the finish.
If 800-grit polish shows 150-grit marks, do not try to polish them out — back up to 300, re-open, and re-run 500, 800. Polishing over a trapped scratch just makes it more visible under reflection. It is faster to redo one grit than to live with a flawed floor.
A resin pad loaded with old concrete dust cannot cut cleanly. When a pad starts leaving streaks, flip it, brush it, or replace it. Dirty pads are a hidden cause of swirls. Keep a bucket of clean water and a brush nearby when wet polishing, and blow out velcro backing between grits.
Grinding flattens the surface but cannot correct a badly out-of-level slab. If the floor dips more than 3 mm over 2 m, plan a self-leveling overlay rather than grinding away more concrete. Grinding a wavy floor to flatness removes too much material.
Once you reach the target grit, run a final raking-light pass over the whole floor. Mark any remaining swirls with chalk and re-work them. A floor that looks perfect under overhead light always reveals faults at a low angle. This last inspection takes ten minutes and prevents callbacks.
A: Usually the grinder was tilted or the disc segments are unevenly worn. Keep the head flat and check segment wear.
A: On very flat floors maybe, but you will likely leave 60-grit marks. Add 120 metal or a transitional hybrid pad.
A: Wet a small patch. Water highlights scratches that dry floor hides. Or use a raking flashlight.
A: Subtle uniform scratch pattern is the look of ground concrete; directional or uneven marks are defects. Stop at 150-300 grit for a matte, 800+ for gloss.
A smooth floor is the result of disciplined grit progression and a flat plate, not more pressure. Vacuum between steps, inspect by raking light, and back up when marks appear. Contact JOY TECH for a matched flat-sequence disc and resin set.
