Average response time: under 24 hours
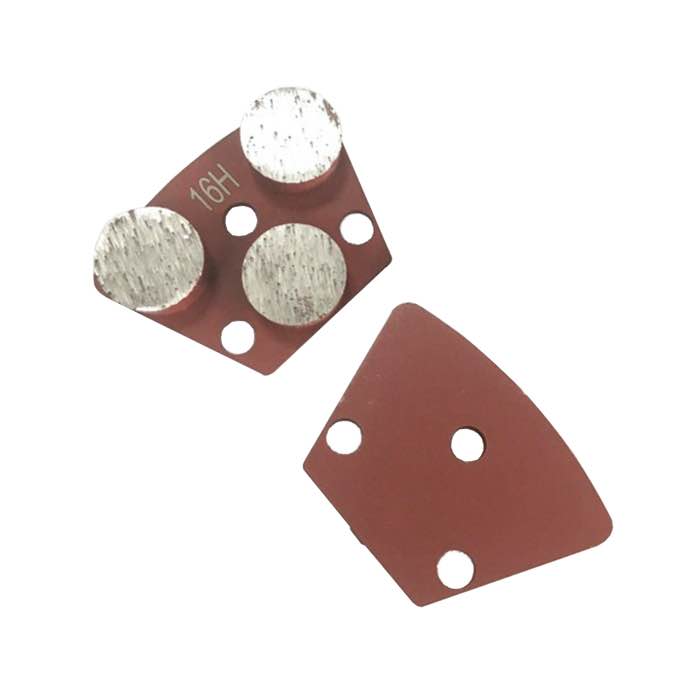
Grind concrete steps and risers with a 115-180 mm diamond cup wheel on an angle grinder or a dedicated walk-behind grinder, taking off no more than 3-5 mm per pass and feathering the nosing so the step edge stays safe and rounded. Always grind the higher side down to the lower, never the reverse, and stop when the tread is flat enough to walk on without a trip.
Worn concrete steps often develop a rounded nosing, a low spot in the tread, or a raised patch that creates a trip hazard. Building up with mortar or epoxy adds height, which changes every riser below. Grinding the high point down restores the original dimensions and gives you a clean, flat tread in about the same time. For commercial stairs, grinding is also faster than re-pouring and avoids curing time.
Limit total removal to about 15-20 mm. If more than that is needed, the step is structurally too worn and should be re-surfaced or replaced.
A single-row cup wheel removes material aggressively and leaves a swirl pattern. It is the default for rough grinding high spots. A double-row wheel cuts more smoothly and vibrates less; use it for finishing passes on stair nosings.
Use a soft-bond wheel for hard concrete and a hard-bond wheel for soft, abrasive concrete. If the wheel glazes, switch to a softer bond; if it wears too fast, switch harder. Most general-purpose wheels in the shop handle normal stair concrete.
For individual steps and tight risers, a 115-125 mm angle grinder with a shroud and vacuum is standard. For long straight runs, a 250-300 mm walk-behind grinder is faster and less tiring. Never use a grinder larger than the tread width; you will round the edge unintentionally.
Run a straightedge across the tread and mark the high spots with a pencil. Check each riser height with a tape; the maximum allowed variation between risers on public stairs is typically 10-15 mm depending on the code. Grind only the high points to meet that tolerance.
Start at the riser face and work outward. Keep the grinder flat on the surface, tilting it only 5-10 degrees to bite. Move side to side in overlapping 300 mm swipes. Take 2-3 mm per pass; do not dig in. Let the wheel do the work.
The nosing (front edge of the step) is the critical safety feature. Grind it to a smooth radius, not a sharp edge. A sharp edge chips under foot traffic; a 3-5 mm radius prevents trips and look natural. Feather the grind from the tread into the riser so there is no ridge.
If the riser has bulges or form-tie marks, grind them last. Keep the grinder vertical and move with the face. Do not spend long on the riser; most riser irregularities are acceptable if the tread is flat.
After each pass, lay a straightedge across the tread and feel for gaps. Stop when the high points are gone and the surface is walkable. Do not over-grind; you will create a new low spot.
Stair grinding is one of the more hazardous concrete jobs because you are often working on a slope, with one hand on the grinder and the other on a handrail. Wear a full-face shield, not just glasses; cup wheels throw chips. Use a dust extractor with a HEPA filter; concrete dust on stairs creates a slippery film. Wet grinding is an alternative if you do not have a vacuum, but it turns the tread into a slip hazard until it dries.
Never work on stairs without a handrail or a stable footing. If the stair is open, set up scaffold or a platform rather than balancing on the edge. Turn the grinder off before setting it down; the cup wheel keeps spinning.
Sweep or vacuum the tread. If the stairs lead to an entry, consider applying a non-slip coating or anti-slip tape once the surface is clean. The fresh grind is smoother than the original, and polished concrete can be slippery when wet. For interior stairs, a subsequent polishing pass with a resin pad blends the grind into the floor finish; for exterior stairs, leave the grind as a light texture.
Inspect the stairs a week later. High points that seemed flat after grinding often show themselves once the dust is gone and daylight rakes across the surface. A 10-minute touch-up pass then is cheaper than a slip claim later.
Written and reviewed by JOY TECH — an SGS & BV audited, CE/RoHS certified diamond tools manufacturer founded in 2004, exporting to 50+ countries.
Our factory and QMS are audited by SGS and Bureau Veritas. Products meet CE/RoHS requirements and every piece is 100% inspected before packing.
Verified Certificates
