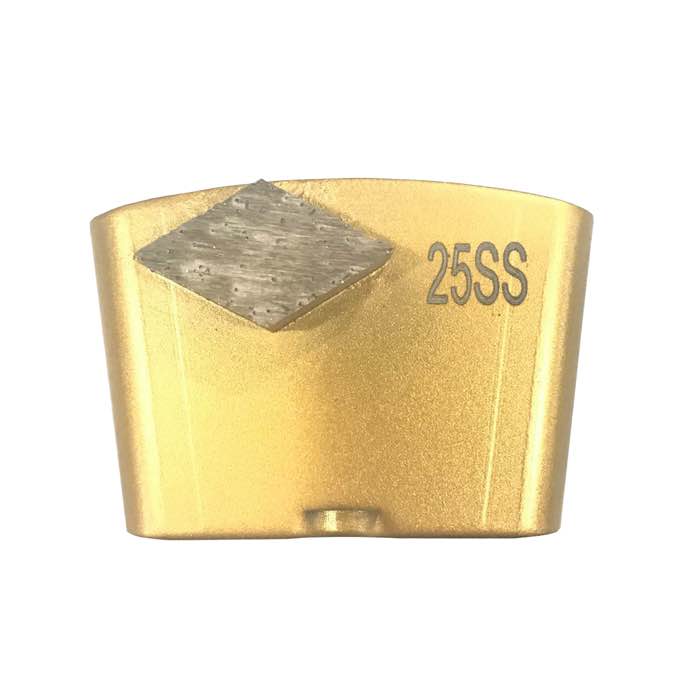
To expose aggregate properly—whether a light “salt and pepper” look or a full stone reveal—start with a 16/18 or 14/20 metal bond shoe in a soft-to-medium bond, grind through the cream layer evenly, then step down through 30/40, 60/80, 120, and resin-bond polishing pads. The grit determines how much cream you remove; the bond determines whether you cut hard or soft concrete cleanly. A soft bond works on hard, abrasive concrete; a medium bond handles most slabs. The key is consistent, overlapping passes until the aggregate “pops” uniformly, then a fine polish to bring out the stone. Tools like Diamond Trapezoid Grinding Disc (JOY-TP-R3) and WerkMaster Double Bar Segment (JOY-WMS-B2) are typical starting-pass tools for exposed-aggregate work.
| Look | How much cream removed | Starting grit |
|---|---|---|
| Salt and pepper (light) | Just through laitance | 30/40 |
| Medium aggregate reveal | Through mortar, stone tops exposed | 16/18 |
| Full exposure (large stone) | Deep cut, stone fully visible | 14/20 or 16/18 |
Exposed aggregate is about removing the cement cream evenly. If the first pass is inconsistent, you will have patches where stone shows and patches of cream left—and no later grit fixes that. Take wide, overlapping paths, keep the machine flat, and watch the floor as you go: the moment aggregate appears uniformly, stop the coarse step and move down.
Aggregate exposure is aggressive grinding, so heat and wear are high:
A triple-round-segment disc gives stable tracking on the deep first pass, while WerkMaster Double Bar Segment (JOY-WMS-B2) bar segments clear swarf quickly when cutting through thick cream.
Once the desired exposure level is reached, do not jump to a polish. Step down evenly:
Each step must fully remove the scratch pattern of the one before. Inspect under bright light; if 30/40 scratches remain, do not go to 60/80—stay at 30/40 longer.
Not every slab exposes well. Before grinding an entire floor, grind a 1 m² test patch at 16/18 and see what the aggregate looks like. Some mixes have tiny, dull sand that makes a poor show; others have bright river rock that photographs beautifully. If the stone is sparse or weak, you may want to reconsider—a decorative overlay or dye will look better than a disappointing reveal. The test patch also tells you whether the slab has any soft spots, blisters, or poor consolidation that would turn into pits under aggressive grinding.
After the final polish, let the floor cure for a week before installing furniture or heavy racks. Exposed aggregate is hard, but fresh resin polishing leaves micro-scratches that fill in as the floor burnsishes under traffic over the first months of use.
A: Start at 30/40 metal bond. It removes just the laitance so fine aggregate peeks through without deep scratches.
A: Carefully. Old slabs may have weak mortar; deep grinding can loosen stones. Start shallow and assess before committing to a full reveal.
A: Apply densifier around the 120-grit metal-bond step, before resin polishing. It hardens the slab so fine polishing produces shine rather than dust.
A: A full reveal runs through 8–10 steps and takes several days for a large floor. Salt-and-pepper is faster, typically 5–6 steps.
Great exposed aggregate comes from choosing the right starting grit (30/40 for salt-and-pepper, 16/18 for full reveal), matching bond to concrete hardness, and stepping down evenly through every grit. Take the first pass seriously, densify at the right moment, and never skip a scratch-removal step.
