Average response time: under 24 hours
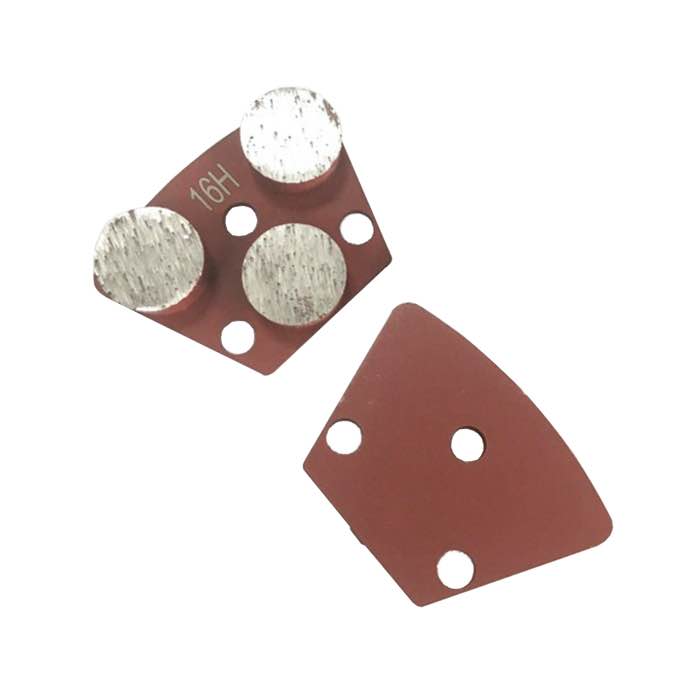
Find the high spot with a straightedge, mark its boundary with chalk, then grind it down with a diamond grinding disc on a floor grinder or angle grinder, working in overlapping passes and checking with the straightedge after every few passes. Grind until the straightedge shows no more than a 1-2 mm gap across the spot. Vacuum the dust frequently so you can see the surface as you work.
Lay a straightedge or a long level across the floor and slide it around; a high spot shows as a gap under the straightedge on both sides of the bump, or as rocking when the straightedge spans it. Mark the outline with chalk and add a small margin around it. For large floors, work in a grid and record each high area on a sketch. Check in both directions, because a high spot may be a ridge rather than a bump, running along one axis.
For a small spot up to about 300 mm across, an angle grinder with a 100-125 mm trapezoid grinding disc gives the control you need. For larger areas, a walk-behind floor grinder with metal-bond or PCD segments removes material faster and stays flatter. Use a coarse grit (30-40 grit equivalent) for heavy material removal, then switch to a finer grit to blend the edges. Match the bond to the concrete: hard concrete needs a soft bond, soft concrete a hard bond.
Grind only inside the marked area, using overlapping passes and letting the disc's own weight do the work. Keep the grinder flat; tilting it carves a dish instead of a level surface. Stop every few passes, vacuum the dust, and check with the straightedge. Remove material gradually: 1-2 mm at a time is a safe target. If the spot is more than about 10 mm high, consider a scarifier or a coarse metal bond segment first, then refine with the disc.
| High spot height | Tool | Grit |
|---|---|---|
| 1-3 mm | Angle grinder + disc | 30-40 grit |
| 3-8 mm | Floor grinder | Metal bond / PCD |
| 8 mm + | Scarifier or coarse segment | Coarse metal |
Once the high spot is level, widen the grind area slightly and blend the edges with a finer disc so there is no visible step. Vacuum thoroughly, then run the straightedge across the repaired area in several directions; the gap should be uniform and small. Wipe the area with a damp cloth to check for remaining bumps by feel. If the floor will be coated or polished, the next step is a full pass over the whole floor so the repaired spot matches the surrounding finish.
Grinding concrete produces heavy silica dust. Connect a vacuum with a HEPA filter to the grinder shroud, or wet-grind to suppress dust entirely. Wear an N95 or better respirator, eye protection, and long sleeves even with vacuum assistance. Work with windows open and seal off adjacent rooms if the floor is indoors. Clean up promptly: concrete dust settles on everything and is abrasive to finishes.
For dependable concrete grinding, equip your machine with a diamond trapezoid grinding disc matched to the concrete hardness.
Written and reviewed by JOY TECH — an SGS & BV audited, CE/RoHS certified diamond tools manufacturer founded in 2004, exporting to 50+ countries.
Our factory and QMS are audited by SGS and Bureau Veritas. Products meet CE/RoHS requirements and every piece is 100% inspected before packing.
Verified Certificates
