Average response time: under 24 hours
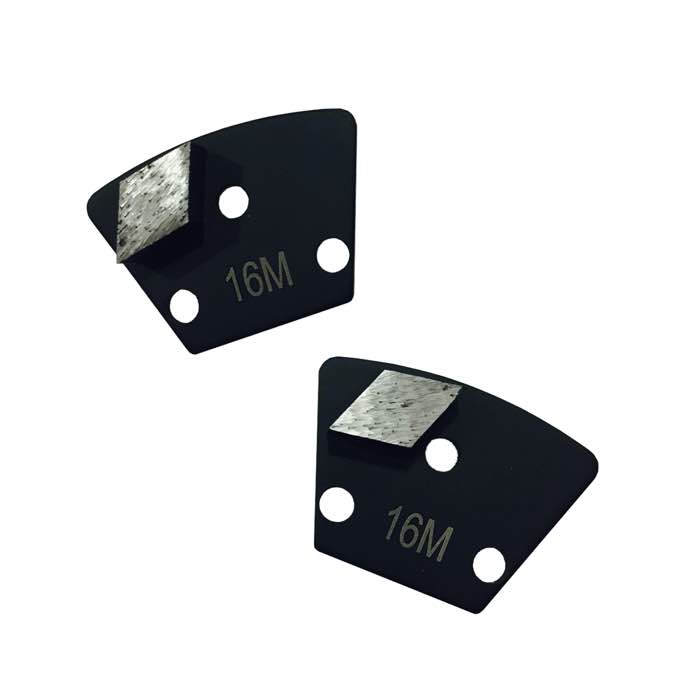
To polish concrete countertops at home, start wet-sanding the cured slab from coarse to fine grit (50, 100, 200, 400, 800, 1500, 3000) with a variable-speed polisher or by hand with wet sandpaper, cleaning the surface between each grit. Apply a concrete densifier after the 400-grit pass, continue to the finer grits, then seal with a food-safe concrete sealer for countertops. The process takes a full day of wet work, but produces a smooth, stone-like surface without hiring a shop.
Yes, in three ways. The surface is horizontal and small, so you can work it by hand or with a small polisher instead of a floor machine. The finish must be food-safe, which means the sealer matters more than the polish. And the edges need the same grit sequence applied to the profile, which is the part most DIYers skip and then wonder why the edge looks rough. Expect the edges to take as long as the flat surface.
For a DIY countertop you need:
If you buy pads, choose diamond resin polishing pads sized for your polisher — a 4" set covers a countertop in reasonable time. Wet sandpaper by hand works for one slab but takes twice as long.
Polish in a strict order and do not skip grits:
Clean the surface completely between every grit — leftover slurry carries coarse grit into the next step and scratches the finish. Wipe with clean towels and fresh water each time.
Polish the edges with the same pads run along the profile, using the pad edge for radius edges. The sink cutout needs the sequence applied to its vertical faces — use a smaller pad or hand sandpaper there. If the concrete was poured with a form, the edges carry the most form release residue, so start them with the coarse grit and spend extra time flattening them. This is where most home countertops show their amateur origin, so do not rush it.
After the final polish, clean the dust off completely, then apply a food-safe penetrating sealer made for concrete countertops. Two coats are standard. The sealer protects against stains and makes the surface wipe-clean; without it, polished concrete stains easily. Reapply every year or two, depending on use. If you used a densifier, the sealer still goes on top — densifier hardens, sealer protects.
For the same process scaled to a small bathroom vanity or floor patch, the grit logic is identical — see matte finish on concrete for stopping earlier in the sequence for a low-sheen result.
Use velcro-backed diamond resin polishing pads through the grit sequence for a consistent sheen.
Yes, with wet sandpaper in the 50-3000 grit sequence. It takes a full day or more for one slab and is hard on the hands, but produces a real polish.
Yes, if you want a true polish. Densifier hardens the surface so the fine grits develop a sheen instead of polishing the soft paste. Apply it after the 400-grit pass.
A food-safe penetrating concrete sealer. It protects against stains and is safe for food prep surfaces. Reapply every year or two.
Expect a full day of wet work for an average countertop, more if you polish the edges and sink cutout by hand. The grit sequence cannot be rushed.
Polishing a concrete countertop at home is a wet, patient process: work the full grit sequence with water, clean between every step, apply densifier mid-sequence, and seal at the end. Spend the extra time on edges and cutouts — they reveal the amateur job. With the right pads and a food-safe sealer, your countertop comes out smooth, hard, and glossy enough to be the centerpiece of the kitchen.
Written and reviewed by JOY TECH — an SGS & BV audited, CE/RoHS certified diamond tools manufacturer founded in 2004, exporting to 50+ countries.
Our factory and QMS are audited by SGS and Bureau Veritas. Products meet CE/RoHS requirements and every piece is 100% inspected before packing.
Verified Certificates
