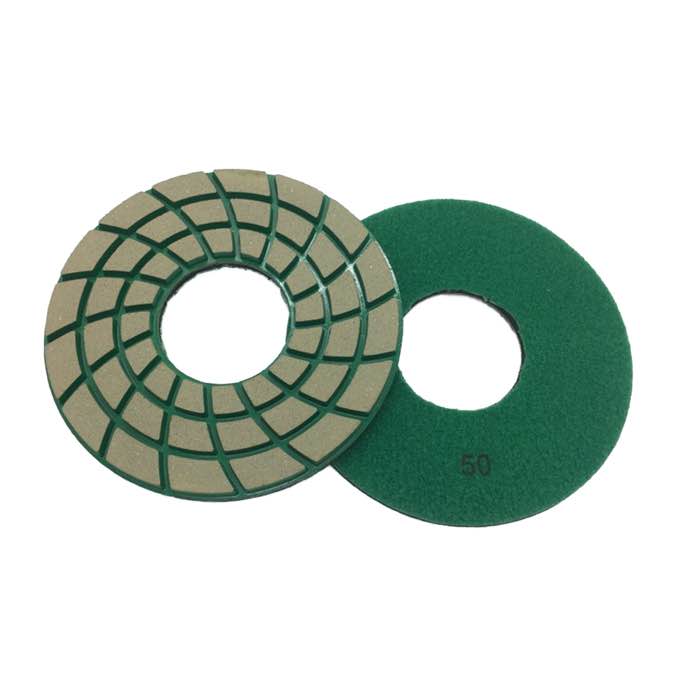
Scratches on polished concrete are repaired by locally re-polishing the damaged area: start at the grit that matches the scratch depth, grind it out, then work back through 400, 800, 1500 and 3000 grit to blend with the surrounding floor, and finish with a burnish. Light scuffs often buff out with a burnishing pad alone; deep gouges that cut into the paste must be ground out and may need densifier touch-up. The key is to feather the repaired area into the existing floor so no patch line shows.
Run a fingernail across the mark. If it catches, it is a real scratch in the surface; if it does not, it is likely a surface scuff that burnishing removes. Also note direction and cause - cart wheels, forklift forks, dropped tools and grit dragged across the floor create different patterns. Water-based stains or rubber marks may look like scratches but are actually surface marks.
| Type | Cause | Treatment |
|---|---|---|
| Light scuff / rubber mark | Traffic, tires | Clean + burnish |
| Fine swirl scratches | Grit walked in | 1500-3000 pad + burnish |
| Visible grooves | Tools, forks | Re-grind from 400/800 up |
| Deep gouge | Impact, metal | Fill if crater, re-polish whole area |
The hardest part is blending. Repair in a slightly larger oval than the damage, gradually reducing pad pressure as you move outward so the repair feathers into the existing floor. Match the final sheen exactly by burnishing the whole surrounding zone, not just the spot. Under side-angle light, walk the floor to check for visible differences before calling it done.
Most scratches come from grit and wheeled traffic. Add walk-off mats at entries, install wheel guards on carts, and keep the floor dust-mopped regularly. A floor that is burnished on schedule is also more forgiving - a maintained surface shows far less.
Local repair is economical for isolated scratches, but there is a tipping point. If scuffs are scattered across the whole floor or concentrated in a traffic aisle that gets hit daily, patching spots will look like a polka-dot of slightly different sheen. In that case, a light whole-floor re-polish - running 800, 1500 and 3000 across the entire area then burnishing - gives a more uniform result than many local touches.
Also address the source. A floor that scratches easily may be under-densified or lack maintenance burnishing. Fixing the scratches without fixing why they happened means you will be repairing again next quarter. Add entry mats, wheel guards and a regular burnishing schedule, and the repair calls will drop sharply.
Feather the repaired area larger than the scratch itself, then burnish the surrounding zone so the sheen transitions gradually. Check the blend under side light before finishing. With practice, local repairs become nearly invisible and save the cost of a whole-floor re-polish.
After a local repair, wait a day before heavy traffic so the refreshed layer fully cures. This prevents premature scuffing of the blended area.
For scratches in a highly polished lobby, do the repair after hours so the cured area is not walked on before you blend it.
Only light scuffs. Anything that catches a fingernail must be ground out and re-polished.
It can until fully blended. Matching the grit sequence and final burnish to the existing floor makes it disappear.
Most shallow and medium scratches are repairable. Craters and pits may need filler first.
Scratched polished concrete is repairable locally by re-running the grit sequence and feathering the blend. Keep the floor clean and burnished to prevent the next set. The takeaway is that most polished-concrete scratches are local and repairable. Re-run the grit sequence in the damaged area, blend outward, and fix the source so the marks do not return. Contact JOY TECH for a quote on repair resin pads and burnishing consumables.
