Average response time: under 24 hours
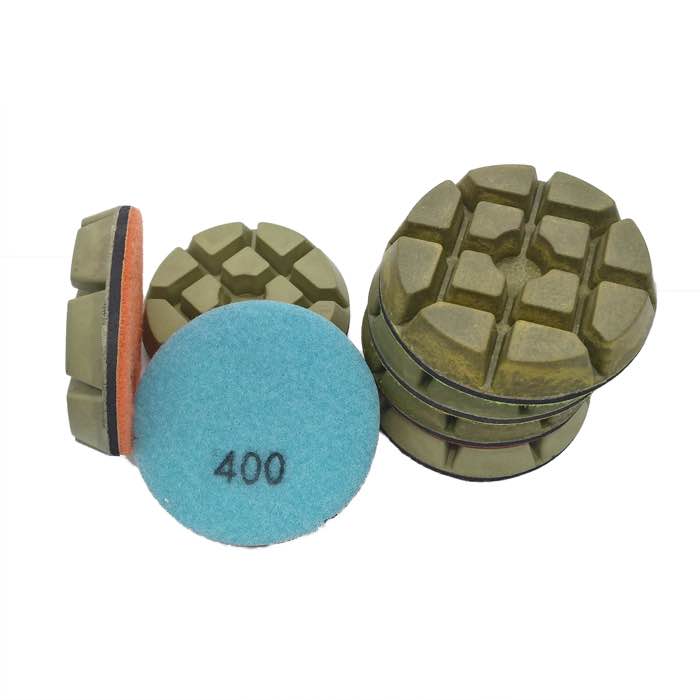
A true mirror finish on polished concrete requires a complete grit sequence without skipped steps, a fully cured densifier, cross-hatch grinding, and a final high-speed burnishing pass. Grind at 30, 60, 120 grit metal, apply the densifier, then resin hone at 200, 400, 800, 1500, 3000, and 6000 grit if you have it, and burnish at 1500-2500 rpm with a soft pad. The floor must be dense, clean, and dry before you polish; a slab that absorbs water will never reflect. Most failed mirror finishes are a densifier problem or a skipped grit step, not a pad problem.
A mirror finish is a surface flat enough that light bounces back in a coherent direction. Concrete is a composite of cement paste and stone; to reflect, the paste must be flattened to within microns and the stone must be polished to the same plane. That requires two things: mechanical flattening with diamonds, and a surface dense enough to take the polish. Densification, not resin pads, is what makes the floor shine.
On a slab without densifier, the paste is porous and the resin pads burnish a soft, dusty surface that looks glossy on day one but wears to a haze within months. A densified slab has a hardened matrix that holds the polish; that is why a mirror finish is a system, not a single step.
A 3000-grit floor reads as high gloss to most people. A 6000-grit floor reads as a mirror, where you can see the ceiling lights reflected. The 6000 step is worth it in showrooms, lobbies, and feature rooms where the floor is the display. In a warehouse, garage, or high-traffic aisle, 3000 grit is the practical ceiling because the extra shine wears off faster than the lower hone.
Work through every grit, never skip, and cross-hatch each pass 90 degrees. Skipping even one grit leaves a micro-scratch that the naked eye reads as haze.
Use the resin polishing pads matched in grit; mixing brands at the 1500 and 3000 step often gives a haze that no burnishing will remove.
Single-direction grinding leaves a unidirectional scratch pattern that catches light. Running the next pass 90 degrees across breaks those scratches up and evens the plane. On large floors, plan the first pass north-south, the next east-west, and so on. It is slower, but it is the difference between a satin shine and a true reflection. A floor ground in one direction will look hazy even at 3000 grit.
A mirror finish punishes dirt. Sweep and wet-mop between every grit change so the previous slurry does not scratch the new hone. One grain of sand carried over from 400 grit to 1500 grit leaves a swirl that you will see in the reflection. Change the water in the vacuum, wipe the machine, and sweep the edges before moving up. This is the most underrated step in mirror polishing.
Four causes cover nearly every failed mirror:
First, the densifier was not given time to cure, so the concrete still absorbs water. Splash a few drops on the finished floor; if they bead, the slab is dense; if they soak in, the mirror is not there yet. Second, a grit step was skipped, leaving a previous scratch visible at 3000. Third, the floor was polished dirty; a single speck of sand at the 3000 step leaves a swirl you will see in the mirror. Fourth, burnishing with a pad that is too hard or too cool. The 3-step resin pad set is designed to end at the mirror without a separate 6000 step, which is the most reliable path on a tight schedule.
To judge a mirror finish, roll a shop light at floor level across the surface. A true mirror throws a clean, undistorted line of light. A hazy floor shows the line as soft and spread out. A floor with swirl marks shows the line broken by tiny scratches. Do this check after every resin step; if you see haze at 1500 grit, going to 3000 will not fix it. Back up and clean the floor.
Burnishing is the last 10 percent of a mirror finish. Run a high-speed burnisher, 1500 rpm or more, with a soft burnishing pad on the completely dry floor. The friction heat tempers the surface and flattens the last micro-scratches. Burnish in two passes, the second pass across the first. The floor should be so reflective you can read a newspaper off it.
Never burnish a wet floor; water cools the pad, lifts slurry, and leaves the hazy band that is the most common complaint after a mirror polish. Wait at least 24 hours after the last resin pass before burnishing, so the floor is completely dry and the sealer is fully set. A mirror floor is judged in natural light, not under a shop light, so do the final check at midday by the window.
Mirror finish is a system, not a pad. Level with metal diamonds, densify and cure fully, hone through every grit in sequence with cross-hatching, and finish with high-speed burnishing on a dry floor. Treat density as the foundation and grit discipline as the process, and the concrete will reflect like a mirror.
Written and reviewed by JOY TECH — an SGS & BV audited, CE/RoHS certified diamond tools manufacturer founded in 2004, exporting to 50+ countries.
Our factory and QMS are audited by SGS and Bureau Veritas. Products meet CE/RoHS requirements and every piece is 100% inspected before packing.
Verified Certificates
