Average response time: under 24 hours
Blotchy polished concrete is almost always caused by one of five things: uneven densifier coverage, moisture migrating through the slab, too-early application of sealer, inconsistent grit progression between machines, or natural aggregate variation in the concrete. To fix it, first identify the cause with a water test and a sheen check, then re-grind the affected patch one grit coarser, reapply densifier evenly, and burnish back to gloss. Do not try to cover blotchiness with more sealer; that usually makes it worse.
Blotches come in two flavors: cloudy white patches and dull grey patches. Cloudy patches are usually moisture or trapped sealer; dull patches are usually missed densifier or uneven grind. Walk the floor in the early morning with a trouble light and mark every patch with chalk before doing anything else. A quick visual diagnosis saves you from re-grinding the wrong area.
The most common cause. Densifier hardens the slab and gives it the ability to take a gloss. If it is sprayed too thin, pooled in puddles, or missed on a corner, that area stays softer and never polishes out. You see it as a dull, slightly darker patch with a softer feel underfoot. Fix: re-grind the patch to 200 grit, reapply densifier at the correct coverage, and re-polish through 1500 grit.
Wet slabs or slabs with high moisture vapor emit alkaline salts that rise to the surface and leave white, cloudy blooms. Test with a calcium chloride kit or a relative humidity probe. If moisture is above the acceptable range, polishing will never look right until the source is controlled. The diamond resin pad system will not hide this; you must solve the moisture problem first.
An acrylic or polyurethane sealer applied too thick, or before the slab was fully dry, hazes up as it cures unevenly. It looks like cloudy patches that change in brightness as the floor warms up. Fix: strip the sealer with a floor stripper, re-grind lightly to 400 grit, and apply a thinner coat. For high-gloss floors, skip film-forming sealer and rely on densifier plus the burnishing pad process.
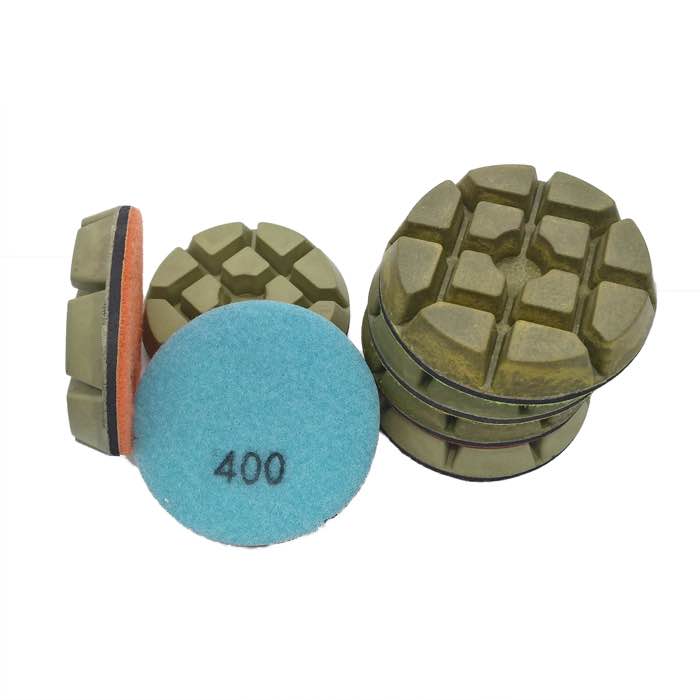
If the walk-behind grinder skipped a grit in one area, or the edge pad was one grit finer than the field, that area will reflect light differently. It looks like a slightly darker or glossier band. Fix: re-grind the affected area one grit coarser than the mismatch and work back up. Use the same pad series, such as the resin floor pad progression, on both the machine and the hand tool so the bond and grit match exactly.
Concrete is not uniform. Cement paste, sand, and aggregate vary across the pour. A patch with more sand will polish differently than a patch with more exposed stone. This is normal and cannot be fully fixed. You can minimize it by grinding slightly coarser overall and accepting the natural look, or by applying a decorative dye or stain to even out the tone across the slab.
Spray a light mist of water on a blotchy patch and watch how it dries. If the water beads and dries evenly, the surface is sealed and the blotch is sealer or densifier related. If the water absorbs unevenly and darkens some spots, the slab itself is varying. If the water dries cloudy, moisture is rising through the slab. Write down what you see before grinding, because each cause has a different fix.
Do not spot-seal. Spot sealer creates a shinier patch that stands out more than the original blotch. If sealer is required, recoat the whole room so the tone stays uniform.
Test the slab for moisture before polishing. Apply densifier with a low-pressure sprayer at a measured coverage rate, not by eye. Keep a single pad series on every machine so the bond and grit match. Wait at least 28 days after pour before polishing interior slabs, and 90 days for exterior slabs. If the slab has already been poured and you are polishing an existing floor, a 3-step resin pad shortcut can still produce an even result if applied consistently across the whole room.
If you have re-grinded and re-densified the blotchy patch twice and the sheen still does not match, the problem is likely slab moisture or deep cement-cream variation that DIY work cannot fix. Bring in a floor polishing contractor with a moisture meter, a concrete grinder, and a full pad set. They can also apply a decorative dye or stain to even out the tone if natural variation is the root cause. For a small patch in a garage, DIY is fine; for a whole showroom floor that still looks wrong after two attempts, the pro call is worth it.
Written and reviewed by JOY TECH — an SGS & BV audited, CE/RoHS certified diamond tools manufacturer founded in 2004, exporting to 50+ countries.
Our factory and QMS are audited by SGS and Bureau Veritas. Products meet CE/RoHS requirements and every piece is 100% inspected before packing.
Verified Certificates
