Average response time: under 24 hours
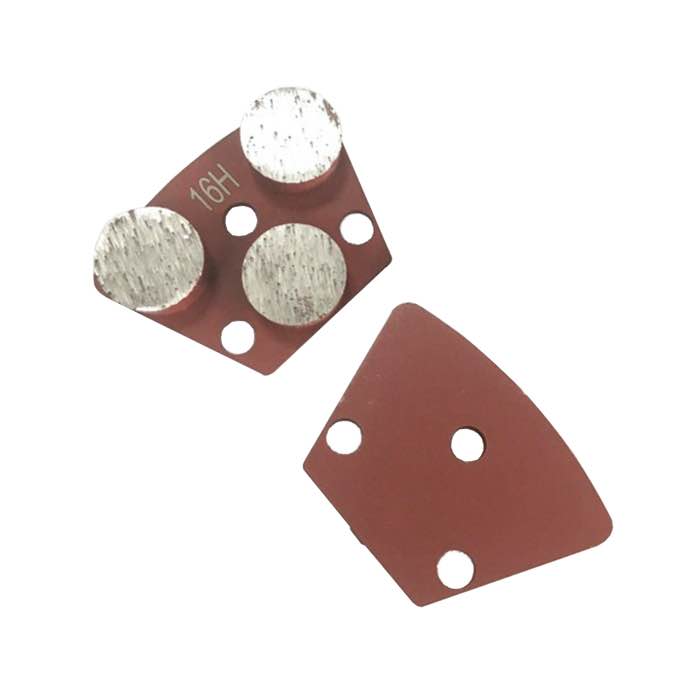
Finish the perimeter band of a polished concrete floor with a handheld rotary polisher running the same resin pad grit sequence as the walk-behind machine, overlapping the main machine pass by 50 to 75 mm. Keep a 50 to 75 mm wide edge strip beside walls, columns, and doorways, and work each grit step from coarse to fine exactly as you did on the open floor. The most common defect is a visible color or gloss band at the wall line, caused by skipping a grit step or by starting fine pads before the coarse scratches are gone.
Walk-behind and ride-on grinders cannot reach within roughly 100 mm of a wall, a column, or a pipe penetration. That strip is left for a handheld grinder or polisher, and it is where most finished-floor complaints show up. The reason is simple: edge work is done by hand, operator pressure varies, and it is easy to skip a grit step or start fine pads on a surface that still carries coarse scratches. A polished floor is only as flat and glossy as its worst edge band, so edge work deserves a deliberate checklist rather than cleanup at the end of the job.
Plan the edge band before the first pass on the open floor. Mark the wall line with tape, decide the overlap width, and note which penetrations need hand tooling. If the main machine passes only 50 mm from the wall, the handheld must pick up that 50 mm plus a 50 mm overlap into the machine pass. A band that is too narrow leaves a visible seam; a band that is too wide doubles hand time and risks over-polishing.
For the coarse grinding and metal-bond steps near the wall, use an angle grinder or a small planetary edge grinder with 100 or 125 mm diamond cup segments. For the resin polishing steps, switch to a low-speed rotary polisher running at 1,500 to 3,000 rpm with a hook-and-loop backing pad. High-speed angle grinders spin too fast for resin pads and burn the surface, so keep the fast tool for grinding and the slow tool for polishing. Many crews carry both on a belt and swap as the floor moves through the grit sequence.
Use 125 to 180 mm resin diamond polishing pads, matching every grit the floor sees: 50, 100, 200, 400, 800, 1500, and 3000 as the job requires. Do not skip a grit on the edge because the band is narrow. A coarse scratch left in the corner will show through every later step and cannot be polished out after sealer. Keep the backing pad firm and flat, and replace it when it cups or the hook-and-loop surface loses grip, because a worn pad rounds edges and leaves a soft, dull band beside the wall.
The handheld pass should overlap the walk-behind machine strip by 50 to 75 mm. That overlap is where the two grit sequences meet, and it is where ridges show up if one side finished finer than the other. Run the handheld at a steady pace, move side to side rather than in long straight lines, and do not dwell in one spot. A 180 mm pad moved back and forth across the band produces a flatter transition than a single pass along the wall, because it spreads the cut evenly across the overlap zone.
| Step | Hand tool | Pad / grit | Overlap |
|---|---|---|---|
| Coarse grinding | Angle edge grinder | 100 mm cup, 30/40 to 150 | 50 mm |
| Resin polishing | Rotary polisher | 125 mm pad, 50 to 3000 grit | 50-75 mm |
| Densifier burnish | High-speed burnisher | White / black pad | 50 mm |
The edge band must follow the same grit progression as the open floor, in the same order, with the same number of passes. If the main floor took two passes at 200 grit, the edge band also takes two. The temptation is to rush the corners because they look small, but skipping a step is exactly what creates the gloss band the client sees at eye level beside the wall. Work each grit fully, vacuum between grits, and check the edge with a side light.
Densifier is applied to the edge band at the same time as the open floor. Do not densify only the middle and leave the edge for later, because the edge will absorb a different amount and read darker under light. Keep the sprayer moving along the wall, and wipe any puddle with a microfiber pad so the densifier dries evenly across the overlap. Edge bands densified late look dull compared with the center of the floor and are hard to correct after sealer.
Swirl marks come from the polisher being tilted on its edge or from a cupped backing pad. Keep the pad flat to the slab, move at a steady pace, and do not lean on the tool. Color bands come from skipping grit, from uneven densifier, or from polishing one strip longer than the rest. Run a gloss meter across the edge band and the open floor at the end of the day, and expect readings within 5 GU of each other.
Walk the finished floor at night with a bright raking light held low to the slab. The light catches every swirl, every scratch, and every gloss band that daytime lighting hides. Mark low spots with chalk, and touch them with the matching grit pad before sealer. Once sealer is down, touch-up is far harder. Spend an hour on raking-light inspection at the end of each polishing day, and you will avoid the classic call-back where the client notices the edge band the first time they walk the floor at night.
Can I use a high-speed angle grinder for the resin polishing steps? No. Angle grinders spin at 10,000 rpm or more and will burn resin pads and round the concrete edge. Use a variable-speed rotary polisher that holds 1,500 to 3,000 rpm under load for the resin steps.
How wide should the edge band be? Plan for a band of 150 to 250 mm total: the strip the walk-behind cannot reach, plus 50 to 75 mm overlap. On tight columns and pipe penetrations, widen the hand band because the machine simply cannot reach around the obstruction.
Written and reviewed by JOY TECH — an SGS & BV audited, CE/RoHS certified diamond tools manufacturer founded in 2004, exporting to 50+ countries.
Our factory and QMS are audited by SGS and Bureau Veritas. Products meet CE/RoHS requirements and every piece is 100% inspected before packing.
Verified Certificates
