Average response time: under 24 hours
Plan control joints on a polished concrete floor as a visible grid before the pour, not as cuts after it dries. Space joints at 24 to 30 times the slab thickness, usually 3.6 to 4.5 m on a 150 mm slab, align the grid with columns, doors, and main aisles, and offset intersections by at least 300 mm. Cut early-entry joints within 6 to 24 hours of finishing so random shrinkage cracks do not appear between cuts. A polished floor makes every joint mirror-bright, so bad layout reads as sloppy workmanship.
On a plain broom-finished slab, control joints disappear visually; you notice them only by stepping on them. On a polished slab the joints reflect light like thin black lines across a mirror, and any misalignment becomes obvious from across the room. Worse, the saw kerf collects dust and traffic abrasion faster than the surrounding floor, so joints darken with age. Layout that looked invisible on a grey slab becomes the dominant design element on a glossy one.
If joints are spaced too far apart, the slab cracks randomly to relieve shrinkage stress. A random crack on a polished floor is not a thin hairline; it is a jagged line that catches the light and cannot be sealed neatly. The cost of repairing it later, grinding it flat and caulking it, is ten times the cost of cutting a straight joint on day one. Joint layout is therefore not a cosmetic decision but a crack-prevention decision.
The standard rule of thumb is joint spacing in meters between 24 and 30 times the slab thickness in mm. On a 100 mm slab that is 2.4 to 3.0 m; on 150 mm it is 3.6 to 4.5 m; on 200 mm it is 4.8 to 6.0 m. Shorter spacing, at the 24× end, suits slabs with high shrinkage, steel fiber reinforcement, or slabs poured in hot dry wind. Longer spacing, at 30×, suits modern low-shrinkage mixes with fly ash. Never exceed 6 m, whatever the mix.
Design the grid on the construction drawing, not on the pour. Align joints with building columns, doorways, and rack centers so the eye follows straight lines through the space. At intersections, offset the cross joint by 300 mm or more rather than meeting at a T or X junction; junctions concentrate stress and crack. Avoid running a joint through a display zone or a reception desk; route it to a wall edge or a column line. Round internal corners with a 30 to 60 mm radius cut so chipping does not start at a sharp 90 degree corner.
The timing decides whether the joint controls cracking. With an early-entry saw running a diamond blade designed for fresh concrete, cut within 6 to 24 hours after finishing, once the slab can support the saw without spalling. With a conventional walk-behind saw, wait 24 to 72 hours. Cut too early and the edges ravel; cut too late and the slab has already cracked between the lines. On a large floor, set up rotating saw crews so cutting follows finishing by about 10 to 15 meters.
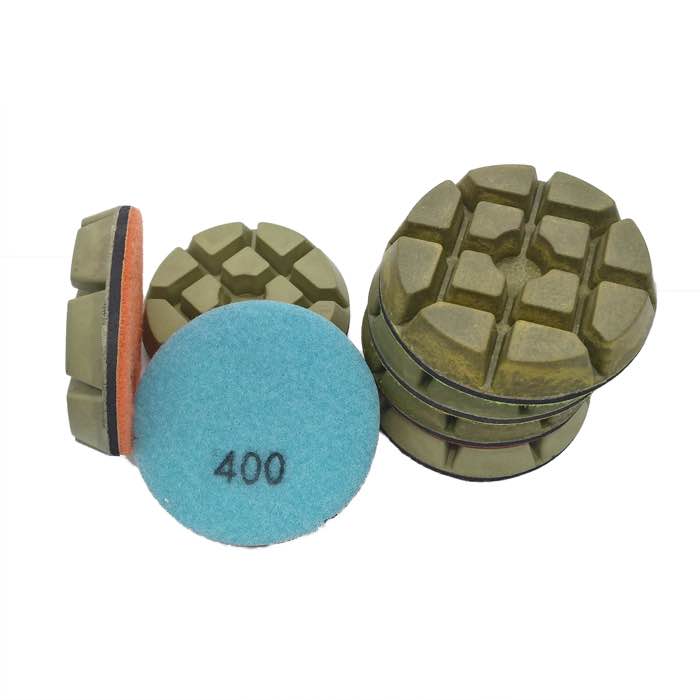
Because the joint kerf must be clean enough to polish over, the saw operator matters. A dull blade or a wandering track leaves a ragged edge that the polishing pad cannot hide. After cutting, vacuum the kerf thoroughly; trapped slurry dried into the joint later pops out as a dark line when the floor is burnished. When you are polishing over a newly cut grid, use JOY RFP-01 resin pads at the early grit steps so you do not round the joint edges before they are dense.
Fill joints with a polyurethane joint sealant after the floor is polished and cleaned, not before. A sealant applied before polishing gets ground flat and smeared. Apply a backer rod first, then a self-leveling polyurethane sealant flush with the surface. For retail floors, choose a slightly tinted sealant so the joint reads as a deliberate design line rather than a dark gap. Inspect and recaulk every 2 to 3 years in high-traffic warehouses.
On delivery day, walk the floor at a shallow angle with a bright light. Look for joint lines that do not line up, corners chipped by the saw, and sealant that has pulled away. These are the defects the client will photograph first. If the grid is planned well, joints become a feature: a 4 m square grid under even lighting reads as intentional and architectural.
Polishing across joints takes slightly more pressure at the edges. Run the machine over joints with the same downward pressure as open areas; do not tilt the machine to chase a low spot next to a joint, because that rounds the edge and throws the reflection. Keep JOY RFP-02 resin pads sharp and change them as soon as a joint edge starts to read slightly brighter than the slab center. For multi-zone projects where the joint layout changes room to room, contact our team for a tailored pad and densifier schedule.
Written and reviewed by JOY TECH — an SGS & BV audited, CE/RoHS certified diamond tools manufacturer founded in 2004, exporting to 50+ countries.
Our factory and QMS are audited by SGS and Bureau Veritas. Products meet CE/RoHS requirements and every piece is 100% inspected before packing.
Verified Certificates
