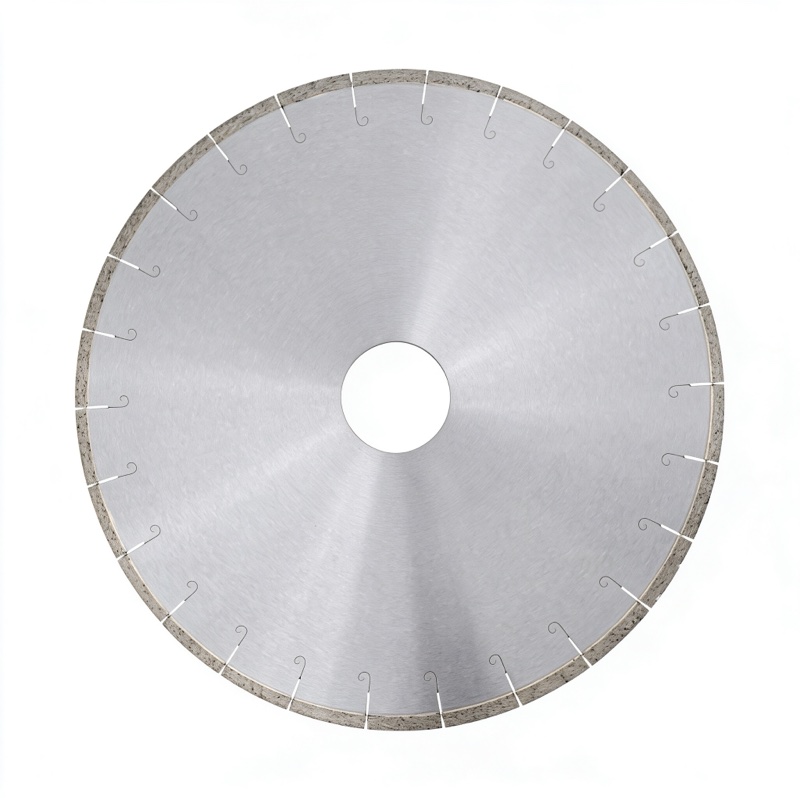
For ceramic tile, use a diamond-tipped tile blade on a wet saw rather than a carbide abrasive wheel. A continuous or turbo-rim diamond blade gives the cleanest chip-free edge, and wet cutting cools the blade and suppresses dust. A standard angle grinder with a small diamond disk works for quick cuts, but a rail-guided wet saw is far more accurate for wall and floor tiling.
Carbide-tipped abrasive wheels cut tile but wear quickly, grab glaze, and chip edges. A hot-pressed sintered ceramic tile blade stays sharp cut after cut and produces a smooth kerf. Our high-frequency welded ceramic blade is built for hand grinders and small saws on site.
On site, fit a 115 mm turbo diamond blade to an angle grinder, mark the line, and score a shallow groove on the face. Then deepen the cut in passes, keeping the blade at 90 degrees. Wear eye and lung protection; even with water, tile dust is fine. For internal cutouts, drill a starter hole at the corner of the opening before sawing.
Chipping usually occurs on the exit side. Place the tile glaze-side up, support the waste offcut, and ease through the last centimeter. For glazed or polished porcelain, tape the cut line with masking tape before scoring; it reduces glaze breakout.
For wall plates, boxes, or fixture cutouts, drill a 10-12 mm starter hole at an interior corner first, then plunge the saw blade into it to begin the opening. Never try to plunge a tile blade directly through glazed face; it will skate and chip. Finish the inside corner with tile nippers or a small diamond hole saw for a clean box fit.
Standard ceramic, porcelain, and natural stone each want a slightly different bond. Soft ceramic cuts easily; hard porcelain needs a sharper, finer rim. Tell your supplier what you actually install most often, and they can tune the blade bond rather than selling you a generic multi-purpose disk that compromises on every material.
Tile that includes glass or metal mesh inserts needs extra care; feed even slower and keep water flowing. General ceramic blade settings are too aggressive for these composite tiles and will chip the glass. Treat them like porcelain rather than ordinary wall tile.
Wet, diamond, steady feed. Skip the abrasive wheels and hammer mode, and ceramic cuts stop being a chipping nuisance.
Set the blade 2-3 mm deeper than tile thickness so it clears the back without biting the table. Feed at a pace that produces a smooth slurry; if the saw labors, slow down. Do not force the tile into the blade. For large format porcelain, cut in two passes if the tile is especially hard, to reduce heat and chipping.
For L-shaped notches, drill the inside corner first, then make two straight cuts. For curved arches, make multiple relief cuts up to the line and nibble out the waste. A wet saw with a steady hand handles most residential tiling; complex curves may need a band saw.
An angle grinder handles a few cuts, but for a whole bathroom the wet saw wins. It cuts straight, wet, and square, and the operator avoids arm fatigue. If you tile regularly, the saw pays for itself in faster, cleaner work. Keep the grinder for on-site trims only.
Hard porcelain chips more than ordinary ceramic. Use a continuous rim, wet saw, and slower feed. If your tiles are polished porcelain, tape the cut line to reduce glaze breakout. When in doubt, practice on a spare tile first.
A: No. A wood or metal blade will shatter tile and ruin the edge. Use a diamond or abrasive tile-rated blade only.
A: Wet cutting is strongly recommended; dry tile blades exist but glaze over quickly and produce huge dust.
A: Use a tile nipper for small curves or a diamond band saw for tight radii; an angle grinder works for rough arcs.
Ceramic tile cuts cleanly when you run a sharp diamond blade wet, score first, and feed steadily. Match the blade to your tool (wet saw vs angle grinder) and to the tile hardness. Contact JOY TECH for sintered and welded ceramic and porcelain blades for your tiling crews.
