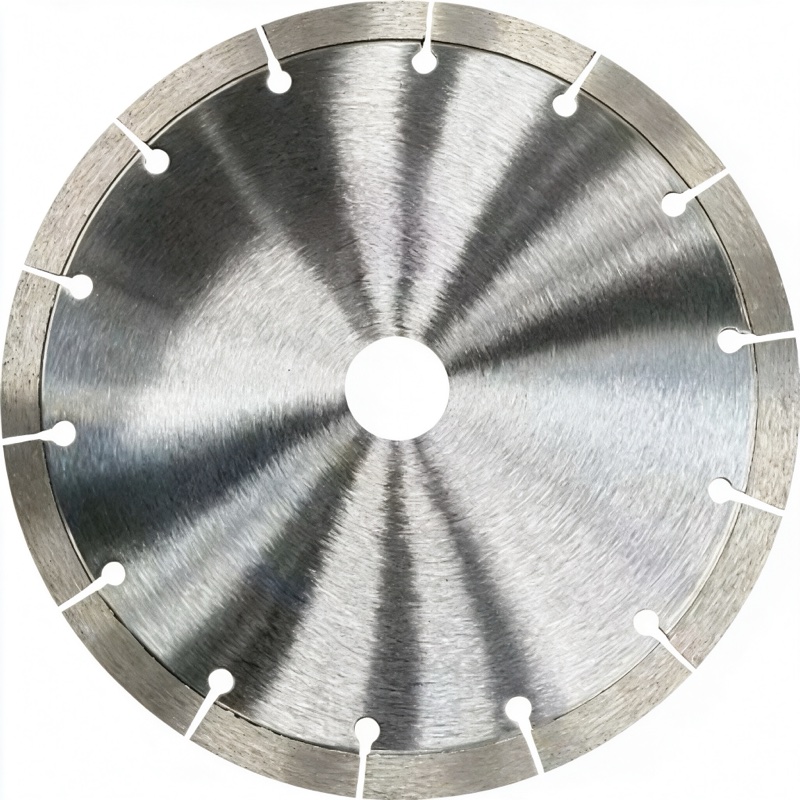
To cut porcelain tile without chipping, use a thin-kerf, continuous-rim diamond blade designed for hard porcelain, cut wet on a rail saw if possible, run the blade at the correct RPM, support the tile firmly, and score a shallow pass before the full cut. Porcelain is extremely hard and dense, so a masonry or segmented blade will chip the glaze; only a sharp, porcelain-specific blade with a smooth rim delivers a clean edge.
Porcelain is fired at high temperature into a near-vitrified, glass-hard body. Two things cause chipping: the wrong blade (a segmented or abrasive blade grabs and snaps the brittle glaze) and unsupported cut edges vibrating as the blade exits. Thin-kerf continuous rims minimize both - they cut with a grinding action along a smooth edge rather than a chopping segment.
Look for a hot-pressed, continuous or turbo-continuous rim blade with a thin kerf and a bond tuned for very hard materials. We recommend the hot-pressed sintered ceramic tile blade for standard porcelain and ceramic. For large-format porcelain slabs and sintered stone, a blade like our Dekton / sintered stone blade is engineered to prevent edge burn and chipping on the hardest bodies.
| Factor | Do | Avoid |
|---|---|---|
| Blade | Thin continuous rim, porcelain-specific | Segmented masonry blade |
| Cooling | Wet cut with water flow | Dry heavy cuts |
| Feed | Steady, score then full cut | Forcing or stopping mid-cut |
| Support | Both sides supported | Cantilevered tile |
For notches and around outlets, use a porcelain hole saw or small diamond disc on an angle grinder with light passes, cutting from the glazed side. Always drill holes from the face side and back the piece with scrap wood to prevent breakout on the back.
Oversize porcelain tiles (1200x2400 mm and larger) demand extra care. They are heavy, rigid and prone to snapping if not fully supported, so use a long rail saw with a sturdy bed and support the entire slab. Never let the overhanging end hang unsupported as you finish the cut, or it will drop and chip the corner. Slow the feed on these large-format panels.
For visible edge cuts that will be on display, many fabricators make a shallow score cut first, then run the cut again; this produces a cleaner, straighter edge than one deep pass. After cutting, ease the edge with a rub block or small chamfer to remove micro-chips that catch the light. These finishing touches are what separate a professional porcelain installation from a DIY job.
Once cut, ease the edge with a diamond rub stone or fine pad to remove micro-chips that catch light. On visible edges, a light chamfer looks professional and prevents corner damage during installation. These finishing steps separate a clean cut from a chip-prone one.
Use fresh blades on expensive tile. A worn blade is the usual cause of the chip that ruins an otherwise perfect installation. The blade cost is trivial next to a slab.
Keep the tile clean during the cut; grit dragged under the blade chips the glaze as much as a dull rim does.
Finally, let the saw blade reach full speed before contacting the tile and slow to a stop after exiting; abrupt starts and stops are a hidden cause of chips.
A: It is possible for small trims but chips and burns easily. A wet rail saw gives professional results.
That is exit breakout. Support the overhanging piece and slow the feed as the blade exits.
Polished glazed porcelain is more chip-sensitive; a sharp, thin-kerf continuous rim is essential on the glazed face.
Chip-free porcelain comes down to the right thin continuous-rim blade, wet cutting, steady feed and solid support. Do not compromise on the blade. The takeaway is that chip-free porcelain comes down to a sharp thin blade, wet cutting and steady support. Do not compromise on the blade, and the finished installation will look professional. Contact JOY TECH for a quote on porcelain and sintered-stone blades for wet saws and angle grinders.
