Average response time: under 24 hours
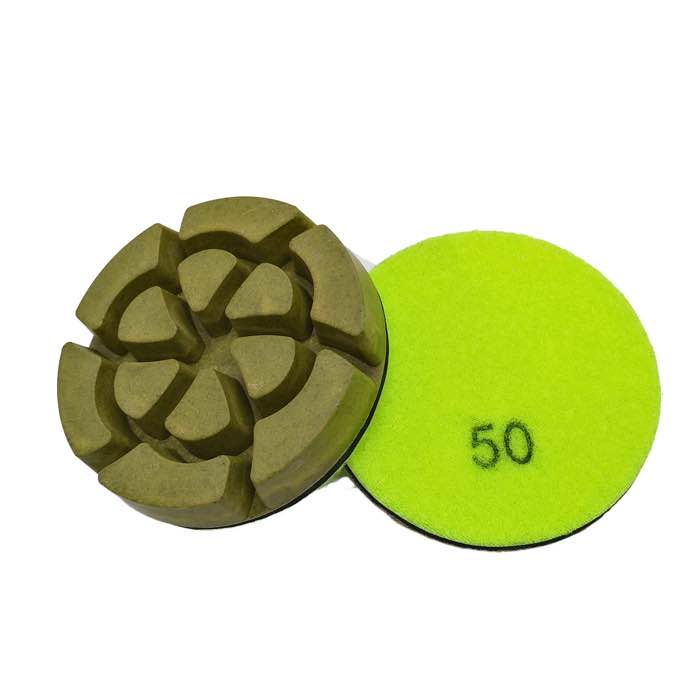
Scratches after polishing almost always come from skipped grits, contaminated pads, excessive pressure, or pads that have worn past their useful life. The fix is to re-cut the floor from one or two grits back and re-polish cleanly, vacuuming between every step.
| Pattern | Cause | Fix |
|---|---|---|
| Deep straight lines | Contaminated pad or debris | Clean pad, vacuum floor |
| Uniform scratch marks | Skipped grit | Step back one or two grits |
| Swirls / arcs | Too much pressure | Lighten down-force |
| Single recurring line | Worn or damaged pad | Replace pad |
A:You need to re-polish the affected area from the coarser grit; spot-polishing the final grit alone will not remove deeper scratches.
A:Clean the pad face and vacuum the floor before every grit change — contamination is the number one cause of new scratches.
A:Wet polishing keeps dust in suspension and runs cooler, which reduces scratch risk, but skipped grits still scratch wet or dry.
Most scratch problems are preventable: follow the grit order, keep pads clean, and control pressure. A reliable pad set like the 3'' Diamond Resin Floor Polishing Pads (JOY-RFP-05) or the 3'' 15mm Thickness Diamond Dry Polishing Pads (JOY-RFP-06) helps, but the discipline between grits matters more.
Written and reviewed by JOY TECH — an SGS & BV audited, CE/RoHS certified diamond tools manufacturer founded in 2004, exporting to 50+ countries.
Our factory and QMS are audited by SGS and Bureau Veritas. Products meet CE/RoHS requirements and every piece is 100% inspected before packing.
Verified Certificates
